
This post may contain affiliate links, which means I may receive a commission from purchases made through the links.
Chapati is a versatile dish that can be served for breakfast, lunch, or dinner, and it can be enjoyed as a snack at any time of day. The commonest chapati recipe out there, as would be expected, is for the regular chapati that is served for lunch and dinner with savory dishes like stews and soups. That chapati is made with flour, water, salt, and cooking oil. For breakfast, though, you need something a little different – something softer, flakier, and more flavorful, to enjoy with your breakfast beverage be that tea, coffee, or any other drink. That is where this recipe comes in. This buttery breakfast flatbread, or butter and milk chapati, is slightly sweet and savory, giving a well-balanced taste. It basically melts in your mouth. This chapati is a great substitute for doughnuts, pancakes, and other similar breakfast items. This is a must-try recipe!

Ingredients for Butter and Milk Chapati
All-purpose flour: Chapati is an unleavened bread, so, no raising agents are added to the flour. When measuring the flour for this recipe, it should be loose rather than packed or compressed, and the cups should be flattened at the top. Heaped cups would result in excess flour which could interfere with the taste and texture of the final product.
Unsalted Butter: As the name of the recipe implies, we are adding a good amount of butter into the dough. Go for unsalted butter so that you can control the amount of salt in the recipe. You will need to melt the butter before adding it to the dough.
Milk: Milk adds both flavor, moisture, and softness to the chapati. I always use whole milk. However, reduced-fat milk could also be used in this recipe. It is okay to use cold milk straight from the fridge, or room-temperature milk. I have not tried this recipe with warm milk. Note, since this is butter and milk chapati, I did not use water at all.
Sugar: Just two tablespoons of sugar are enough to give this recipe that perfect slightly sweet taste. You can use any granulated sugar.
Salt: One teaspoon of salt does a great job complementing the sweetness of the chapati.
More flour and melted butter for later steps: Those later steps include rolling the chapati dough to create layers, rolling the pieces for cooking, and eventually cooking the chapati. One cup of flour and another half a cup (or one stick) of butter would be enough.

Steps for Making Butter and Milk Chapati
Making the dough for butter and milk chapati
Step 1: Measure flour into a large bowl. Add sugar and salt to it and whisk to combine the dry ingredients.
Step 2: Add about half of the milk to the flour and knead. You can use your hands or a mixer. Continue adding the rest of the milk a little at a time to the flour and knead until you achieve the right texture (see recipe video at the bottom) and all the flour is absorbed into the dough. The dough should be quite firm at this point.
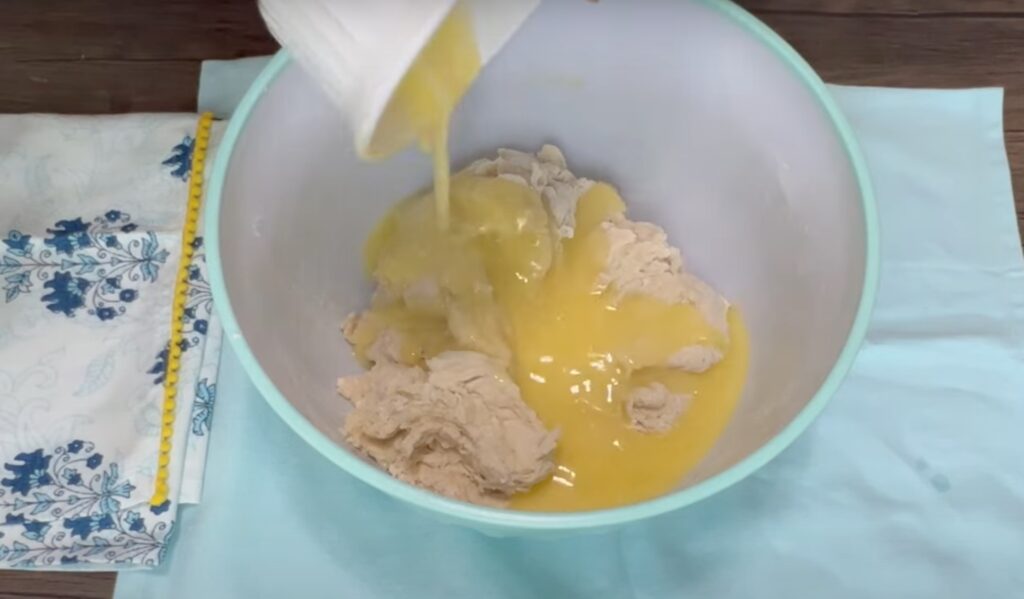
Step 3: Add melted butter to the dough. Knead until the dough is smooth and without lumps or air spaces. The dough will get softer upon the addition of melted butter, hence why it should be firm before this step.

Step 4: Shape the dough into a ball and place it in the bowl. Cover it using cling wrap, a clean kitchen towel, or a lid, and let it relax for at least fifteen minutes. A relaxed dough is very easy to work with, and the resulting chapati will not be as chewy as the case would be with non-relaxed dough.
Creating layered chapati
Step 5: On a wide, clean, and dry surface, sprinkle about a tablespoon of flour, then, gently place the dough onto it. Sprinkle some more flour on the top side and roll the dough out into one huge circle. NOTE: Do not knead the dough anymore at this stage as it needs to stay relaxed.
Step 6: Apply melted butter all over the rolled-out dough. Use a basting brush or your palm to do this. Then, working from one edge, roll the dough back up into one long roll. Use a pastry scraper or knife to cut the roll into equal and sizeable pieces depending on how large you want your chapatis to be. I like my breakfast chapati to be smaller, so this dough produced sixteen chapatis. Shape each piece into a nice and round ball by tucking in any loose edges and pressing gently. Keep the pieces covered with a kitchen cloth as you move on with the next steps, so they don’t dry out.
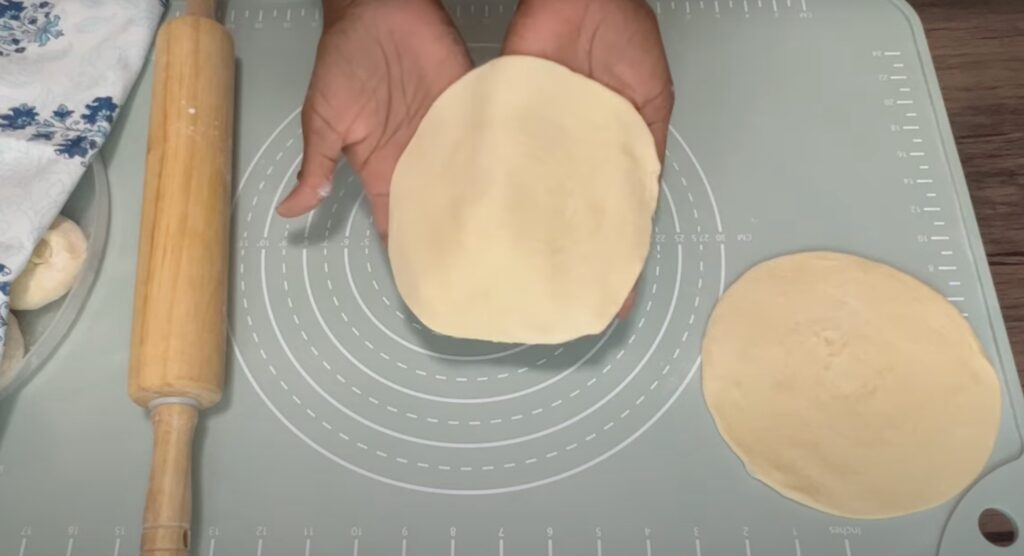
Step 7: Sprinkle a little flour on your working surface and roll out one chapati at a time. Roll it slightly thin but not translucent thin. It shouldn’t be too thick either as that could lead to chewy or undercooked chapati.

Cooking chapati
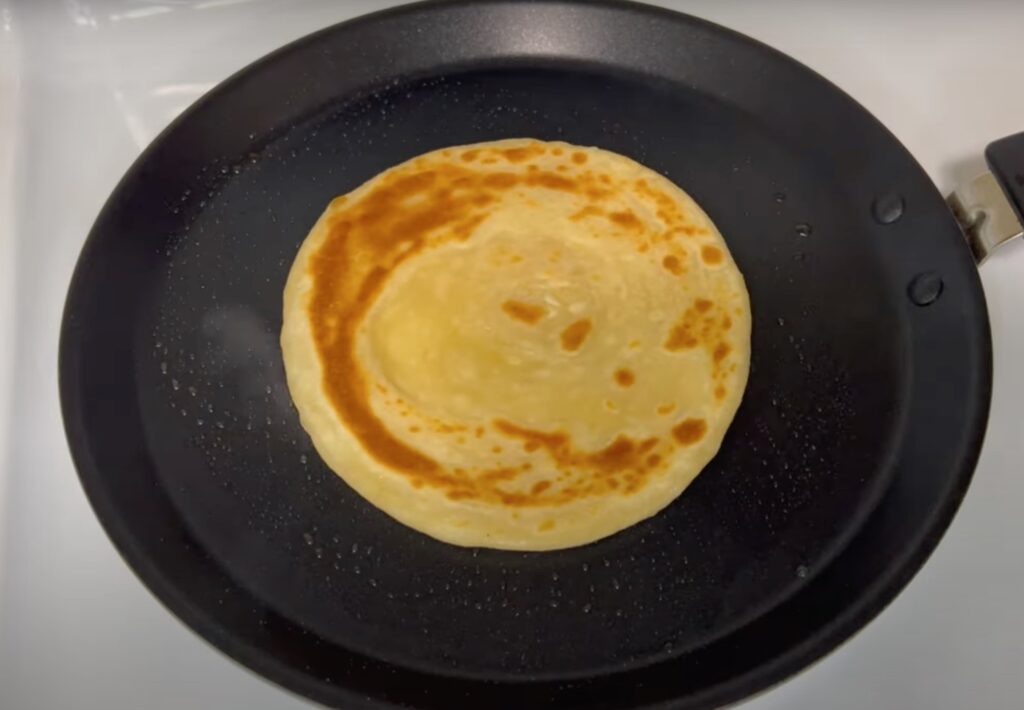
Step 8: Place a heavy enough, non-stick frying pan onto the stove on medium heat. Place the chapati dough on the pan and let it cook until the top side sets and the bottom begins to brown. Turn it over and cook the other side. At this point, apply some butter on the entire top side using a basting brush or a spoon. Flip the chapati and do the same on the second side. Once your chapati has beautiful brown spots on both sides, take it off the pan.

My Amazon Affiliate Links
- Non-stick crepe pan (Commissions Earned): https://amzn.to/4fDSPbQ
- Non-stick frying pan (Commissions Earned): https://amzn.to/3XacJEl
- Euchoiz Silicon pastry mat (Commissions Earned): https://amzn.to/4fEIJHK
- Rolling pin (Commissions Earned): https://amzn.to/4clguej
- Pastry scraper (Commissions Earned): https://amzn.to/4cuG1lu
- KitchenAid Measuring cups (Commissions Earned): https://amzn.to/3MmlepD
- Pyrex measuring cups (Commissions Earned): https://amzn.to/4dEMriJ
- Mixing bowls set (plastic) (Commissions Earned): https://amzn.to/3YA1O7U
- Mixing bowls (glass) (Commissions Earned): https://amzn.to/3WFSFb9
- Stainless whisk (Commissions Earned): https://amzn.to/3M1sdUz
- Kitchen towels (flowery patterns) (Commissions Earned): https://amzn.to/3AlgEVK
- Kitchen towels (plain colors) (Commissions Earned): https://amzn.to/3M2Dfcg
- Pastry/basting brushes (Commissions Earned): https://amzn.to/3X0kAUE
Serving Suggestions for Butter and Milk Chapati
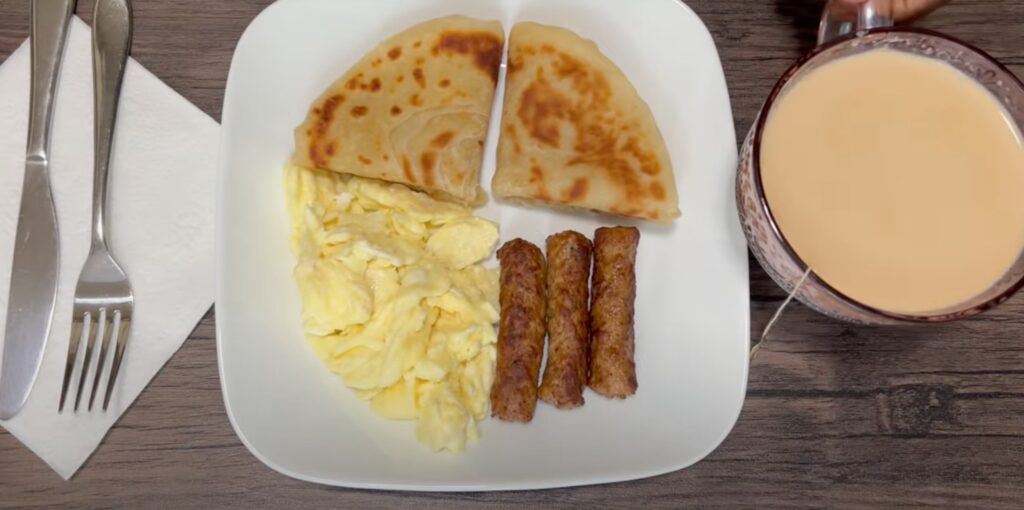
Serve your breakfast chapati with scrambled eggs and sausage, with vegetarian options such as green grams stew, lentil stew, or bean stew, or simply enjoy it with a beverage like Kenyan tea. Remember, this chapati still makes for a great snack for any time of day!
Additional Tips for Perfect Chapati
- You might want to regulate your stove heat between medium and medium-high if necessary. Too high heat will burn the chapatis while too low heat will dry them out.
- When rolling out your chapatis to cook, use flour minimally on the working surface. Just enough to prevent sticking. If you use too much flour, your chapatis will go into the pan dusty, and that dry flour will burn and darken your chapati.
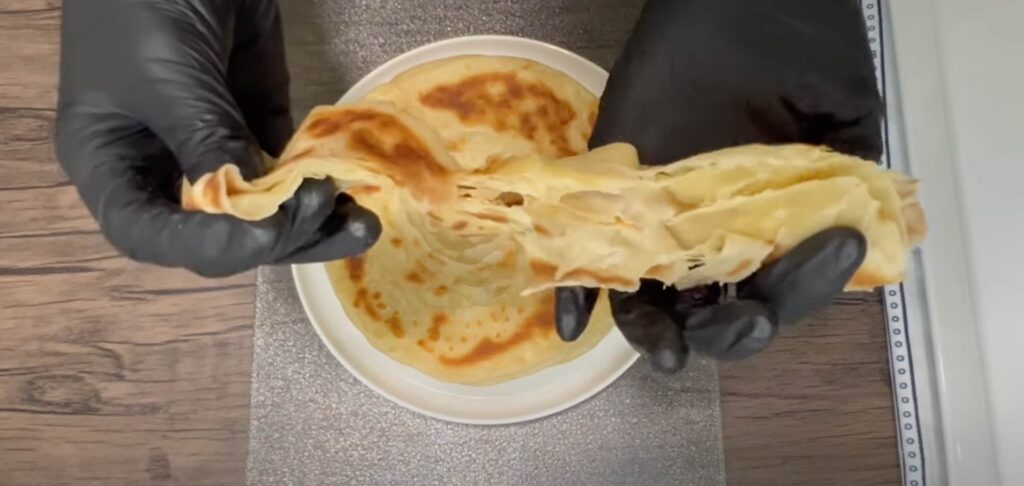
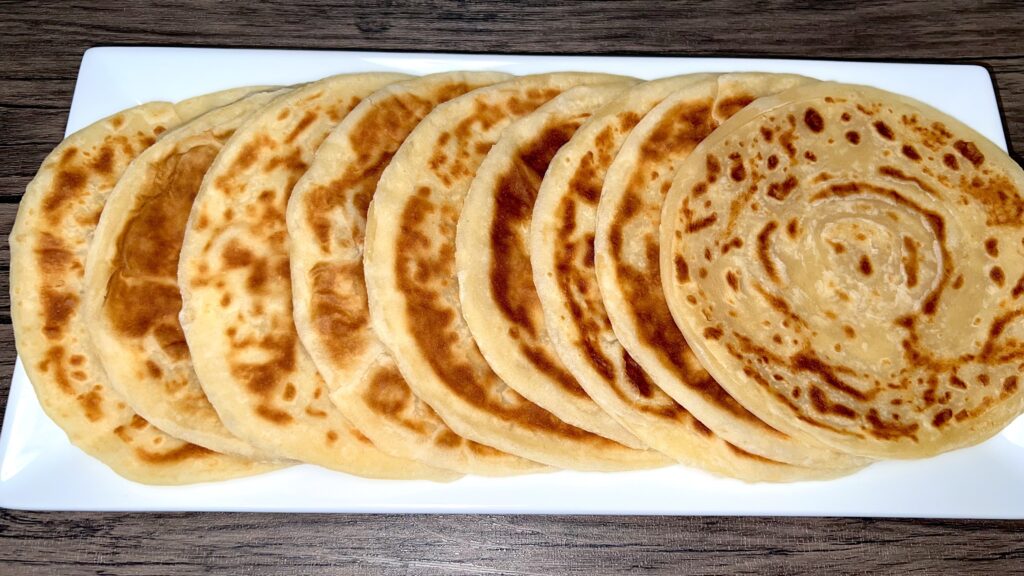
- Chapatis can come out of the pan a little flaky, even firm at first but as you pile them up one after another, their moisture softens them, and they should fold effortlessly. So, make sure to pile them up when cooking.
- Always serve this chapati warm because the butter in it solidifies when cold and causes it to be tough. A few seconds in the microwave are enough to give that soft texture back. Be careful not to overheat them though as they dry out very quickly.
How to Preserve Leftover Chapati
- Preserve chapati moisture by keeping it covered. Soon after cooking, if not serving immediately, cover it with a large bowl. Also, allow any leftovers to cool down while covered, then transfer them to an airtight container (I like to use gallon-size Ziplocs for this) for storage. Chapati, like many other pastries, dries out quickly if left uncovered.
- Preserve chapati freshness by freezing any leftovers. Refrigerating doesn’t work as well – they lose that freshness after about three days in the fridge.

How to Reheat Leftover Chapati
- You can heat up frozen chapati on the stovetop or in the microwave. If microwaving, do about 20 seconds at a time and flip it over. You will hardly need to go over a minute and a half or your chapati will dry out.
- On the stovetop, simply place the frozen chapati on a frying pan and heat it on medium. No additional butter or oil is needed. Flip it after every few seconds so it heats uniformly. Allow it to heat thoroughly before taking it off the pan. Just FYI, Chapati that is reheated on the stovetop always tastes better than microwaved chapati because it regains that crispy exterior.
Print the Recipe for Butter and Milk Chapati
Conclusion
That’s it for my buttery breakfast chapati. If you try this recipe, please do share your experience in the comments section below. Also, if you would like to check out my other chapati recipe for lunch and dinner, here is the link: soft and layered chapati. I hope that you love this recipe and that you explore many more that I have on this blog. See you again in another recipe post.
My Amazon Affiliate Links
- Non-stick crepe pan (Commissions Earned): https://amzn.to/4fDSPbQ
- Non-stick frying pan (Commissions Earned): https://amzn.to/3XacJEl
- Euchoiz Silicon pastry mat (Commissions Earned): https://amzn.to/4fEIJHK
- Rolling pin (Commissions Earned): https://amzn.to/4clguej
- Pastry scraper (Commissions Earned): https://amzn.to/4cuG1lu
- KitchenAid Measuring cups (Commissions Earned): https://amzn.to/3MmlepD
- Pyrex measuring cups (Commissions Earned): https://amzn.to/4dEMriJ
- Mixing bowls set (plastic) (Commissions Earned): https://amzn.to/3YA1O7U
- Mixing bowls (glass) (Commissions Earned): https://amzn.to/3WFSFb9
- Stainless whisk (Commissions Earned): https://amzn.to/3M1sdUz
- Kitchen towels (flowery patterns) (Commissions Earned): https://amzn.to/3AlgEVK
- Kitchen towels (plain colors) (Commissions Earned): https://amzn.to/3M2Dfcg
- Pastry/basting brushes (Commissions Earned): https://amzn.to/3X0kAUE
