This post may contain affiliate links, which means I may receive a commission from purchases made through the links.
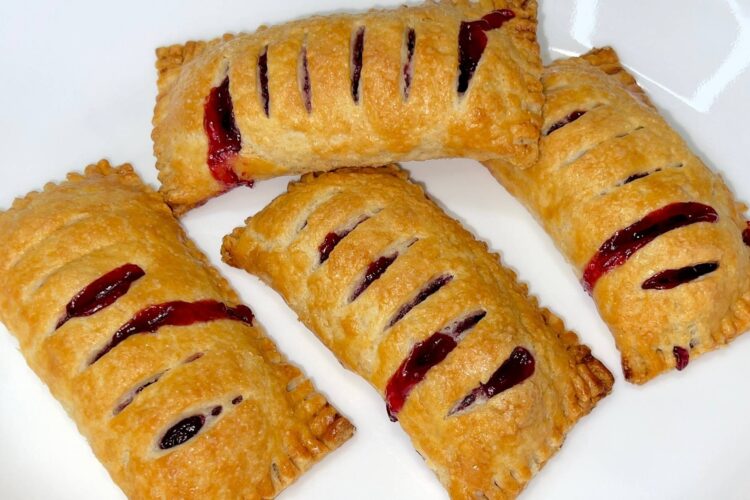
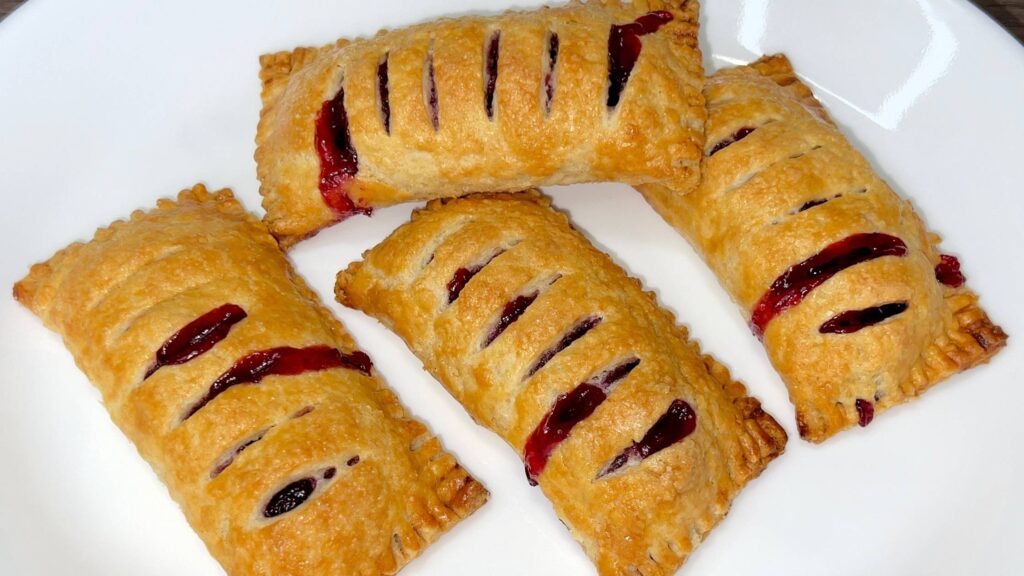
These homemade cherry turnovers are delightful by all means: they are as gorgeous as they are rich in flavor. Featuring a golden, buttery crust filled with sweet and tart cherry filling, they make a perfect treat for breakfast, dessert, or an afternoon snack. And, they beat the store-bought versions! Sure, store-bought ones are convenient, but homemade cherry turnovers have a superior flavor and texture that’s worth the effort. In this post, I will guide you through making cherry turnovers from scratch, including making the cherry filling and the pastry dough and assembling them into exquisite turnovers.
Ingredients for Cherry Turnovers
To make the perfect cherry turnovers, you’ll want to make its two key components from scratch: the cherry filling and the pastry dough.
For the Cherry Filling:
- 2 cups fresh cherries, pitted
- 1/3 cup granulated sugar
- 1 tablespoon cornstarch
- 1 tablespoon lemon juice
- 1 tablespoon unsalted butter
For the Pastry Dough:
- 2 1/2 cups all-purpose flour
- 1 cup unsalted butter, cold and very thinly sliced
- 1/2 teaspoon salt
- 2 tablespoons granulated sugar
- 1 teaspoon baking powder (optional) – for a softer and flakier crust.
- 1/2 cup cold water
Additional Ingredients:
- 1 egg (for egg wash)
- 2 tablespoons milk (for egg wash)
- Granulated sugar (for sprinkling on top)
Steps for Cherry Turnovers
Step 1: Prepare the Cherry Filling
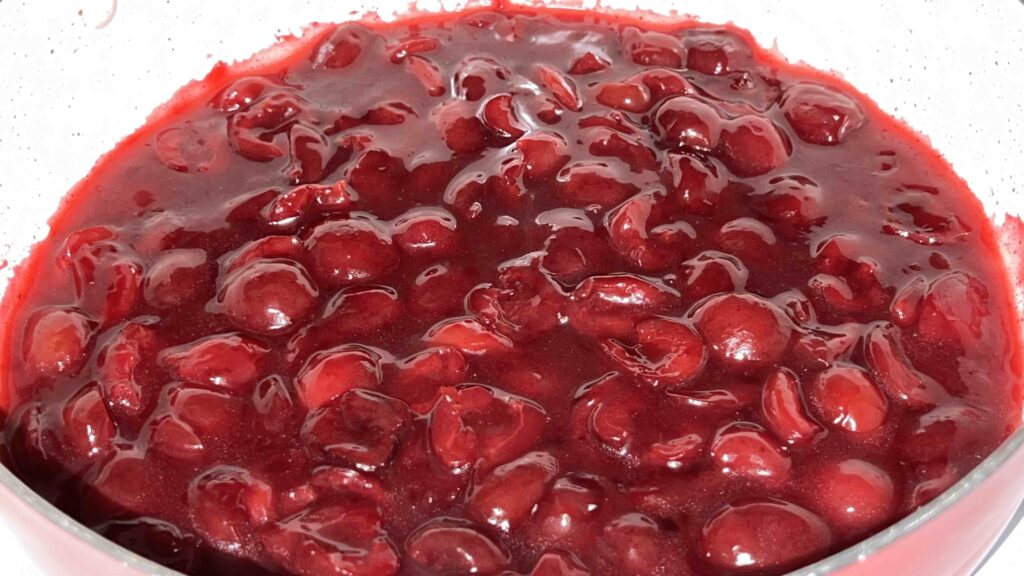
In a small saucepan over medium heat, combine the cherries, sugar, salt, and lemon juice. Cook for about 5 minutes, stirring occasionally, until the cherries begin to release their juices. In a separate small bowl, mix the cornstarch with 2 tablespoons of water to create a slurry. Stir the cornstarch mixture into the cherries and continue cooking for another 2–3 minutes until the mixture thickens. Remove from heat, add the butter, and stir it in until it is fully incorporated. Allow the filling to cool completely before using it.
Step 2: Make the Pastry Dough
In a large mixing bowl, whisk together the flour, sugar, and salt. Add the cold, thinly sliced butter and use your hands to mix it with the flour. Do not rub. Rather, gently incorporate it by breaking up any clumps. Once the butter is evenly distributed in the flour, gradually add cold water, a few tablespoons at a time, mixing with a fork just until the dough comes together. Then, transfer the dough mixture to a wide surface and use your hands to press it until it holds together. The dough should be quite firm. Shape the dough into a disc, wrap it in plastic wrap, and refrigerate for at least 30 minutes.
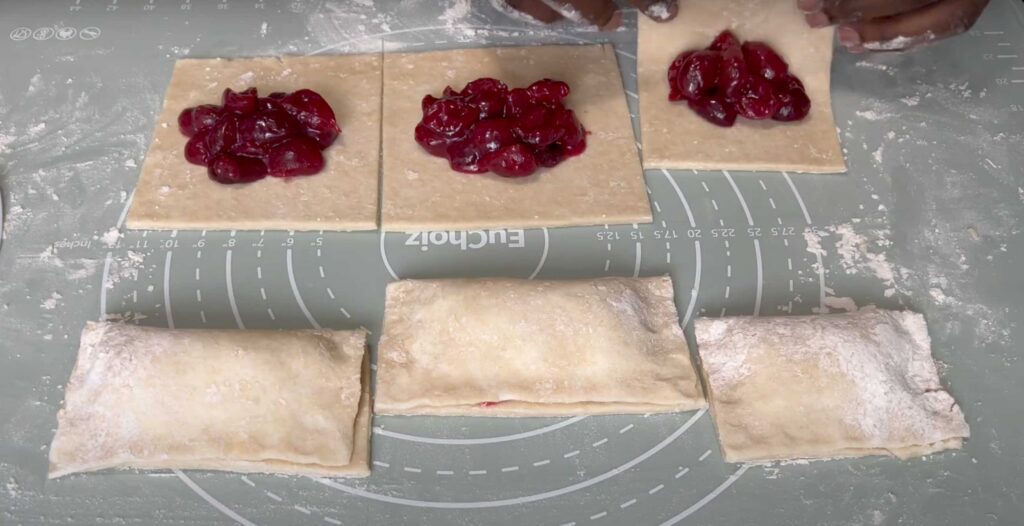
Step 3: Assemble the Cherry Turnovers
Preheat your oven to 400F and line a baking sheet with parchment paper. Roll out the chilled dough on a floured surface to about 1/8-inch thickness. Cut the dough into about 5-inch squares. This dough should give you 10-12 squares. Spoon about 1 tablespoon of the cooled cherry filling into the center of each square. Make it into an oval rather than circular shape so the filling is well distributed in the turnover. Fold the dough from one end to the other to form a rectangle and press the edges together with a fork to seal. Transfer the turnovers to the lined baking sheet.

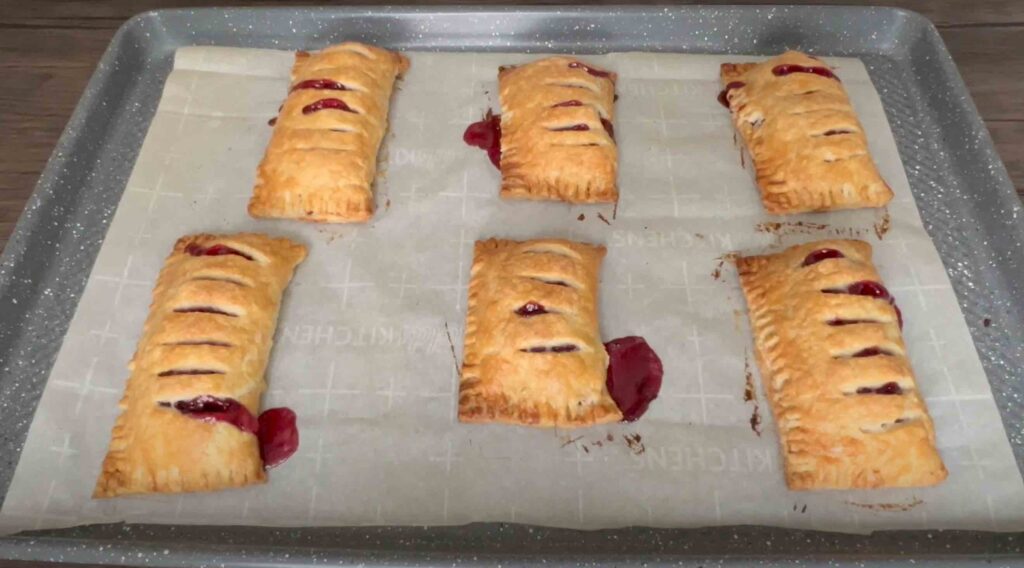
Step 4: Bake the Cherry Turnovers
In a small bowl, whisk together the egg and milk to create an egg wash. Brush the egg wash over each turnover to help achieve a golden-brown crust. Use a small knife to cut a few slits on top of each turnover to allow steam to escape as they bake. Bake for 10 minutes at 400F, then reduce the temperature to 375F and bake them for additional 20 minutes, or until golden brown and crispy. Remove from the oven and let cool for a few minutes before enjoying.
Serving Suggestions
Enjoy your cherry turnovers warm with a scoop of vanilla ice cream or a dollop of whipped cream. They also pair beautifully with a cup of coffee or tea for a delightful treat at any time of the day.

How to Make Flaky and Delicious Cherry Turnovers from Scratch
Course: Breakfast, DessertCuisine: AmericanDifficulty: Easy3
servings40
minutes30
minutes1
hour10
minutesAn easy recipe with amazing results!
Ingredients
- For the Cherry Filling
2 cups fresh cherries, pitted
1/3 cup granulated sugar
1 tablespoon cornstarch
1 tablespoon lemon juice
1 tablespoon unsalted butter
- For the Pastry Dough
2 1/2 cups all-purpose flour
1 cup unsalted butter, cold and very thinly sliced
1/2 teaspoon salt
2 tablespoons granulated sugar
1 teaspoon baking powder (optional) – for a softer and flakier crust.
1/2 cup cold water
- Additional Ingredients
1 egg (for egg wash)
2 tablespoons milk (for egg wash)
Granulated sugar (for sprinkling on top)
Directions
- Step 1: Prepare the Cherry Filling: In a small saucepan over medium heat, combine the cherries, sugar, salt, and lemon juice. Cook for about 5 minutes, stirring occasionally, until the cherries begin to release their juices. In a separate small bowl, mix the cornstarch with 2 tablespoons of water to create a slurry. Stir the cornstarch mixture into the cherries and continue cooking for another 2–3 minutes until the mixture thickens. Remove from heat, add the butter, and stir it in until it is fully incorporated. Allow the filling to cool completely before using it.
- Step 2: Make the Pastry Dough: In a large mixing bowl, whisk together the flour, sugar, and salt. Add the cold, thinly sliced butter and use your hands to mix it with the flour. Do not rub. Rather, gently incorporate it by breaking up any clumps. Once the butter is evenly distributed in the flour, gradually add cold water, a few tablespoons at a time, mixing with a fork just until the dough comes together. Then, transfer the dough mixture to a wide surface and use your hands to press it until it holds together. The dough should be quite firm. Shape the dough into a disc, wrap it in plastic wrap, and refrigerate for at least 30 minutes.
- Step 3: Assemble the Turnovers: Preheat your oven to 400F and line a baking sheet with parchment paper. Roll out the chilled dough on a floured surface to about 1/8-inch thickness. Cut the dough into about 5-inch squares. This dough should give you 10-12 squares. Spoon about 1 tablespoon of the cooled cherry filling into the center of each square. Make it into an oval rather than circular shape so the filling is well distributed in the turnover. Fold the dough from one end to the other to form a rectangle and press the edges together with a fork to seal. Transfer the turnovers to the lined baking sheet.
- Step 4: Bake the Turnovers: In a small bowl, whisk together the egg and milk to create an egg wash. Brush the egg wash over each turnover to help achieve a golden-brown crust. Use a small knife to cut a few slits on top of each turnover to allow steam to escape as they bake. Bake for 10 minutes at 400F, then reduce the temperature to 375F and bake them for additional 20 minutes, or until golden brown and crispy. Remove from the oven and let cool for a few minutes before enjoying.
Recipe Video

Conclusion
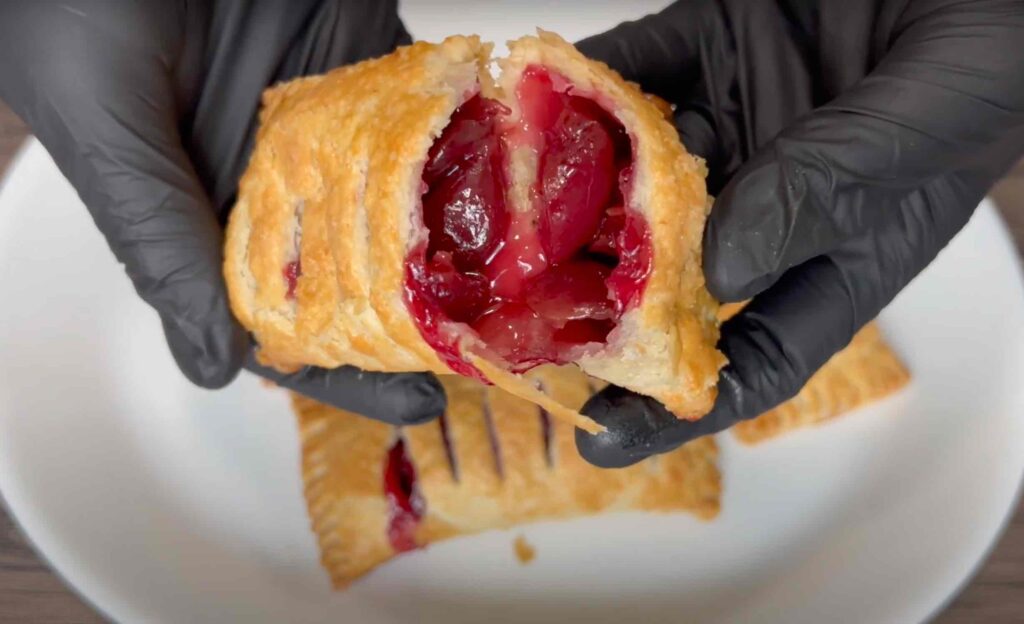
Making cherry turnovers from scratch is not complicated at all, and the results are a real delicacy. This homemade pastry is full of layers of flaky, buttery crust and a luscious cherry filling. I hope you try my recipe and that you enjoy this homemade goodness.
Another similar and delicious recipe: Handmade apple pies.
Thank you for reading up to this point. Please consider checking out my affiliate links below. Purchasing any item you may need through these links would help support this blog. I will earn commissions at no additional cost to you. Thank you very much!
My Amazon Affiliate Links
- Cherry pitter: https://amzn.to/4h02dWz
- Pizza cutter wheel: https://amzn.to/41fXiwF
- Baking sheet: https://amzn.to/3Ap6e7x
- Euchoiz Silicon pastry mat: https://amzn.to/4fEIJHK
- Pastry/basting brushes: https://amzn.to/3X0kAUE
- KitchenAid Measuring cups: https://amzn.to/3MmlepD
- Mixing bowls (glass): https://amzn.to/3WFSFb9
- Stainless whisk: https://amzn.to/3M1sdUz
- Rolling pin: https://amzn.to/4clguej
- Blue Diamond Cookware Set (Non-stick): https://amzn.to/3LZjr9s