This post may contain affiliate links, which means I may receive a commission from purchases made through the links.
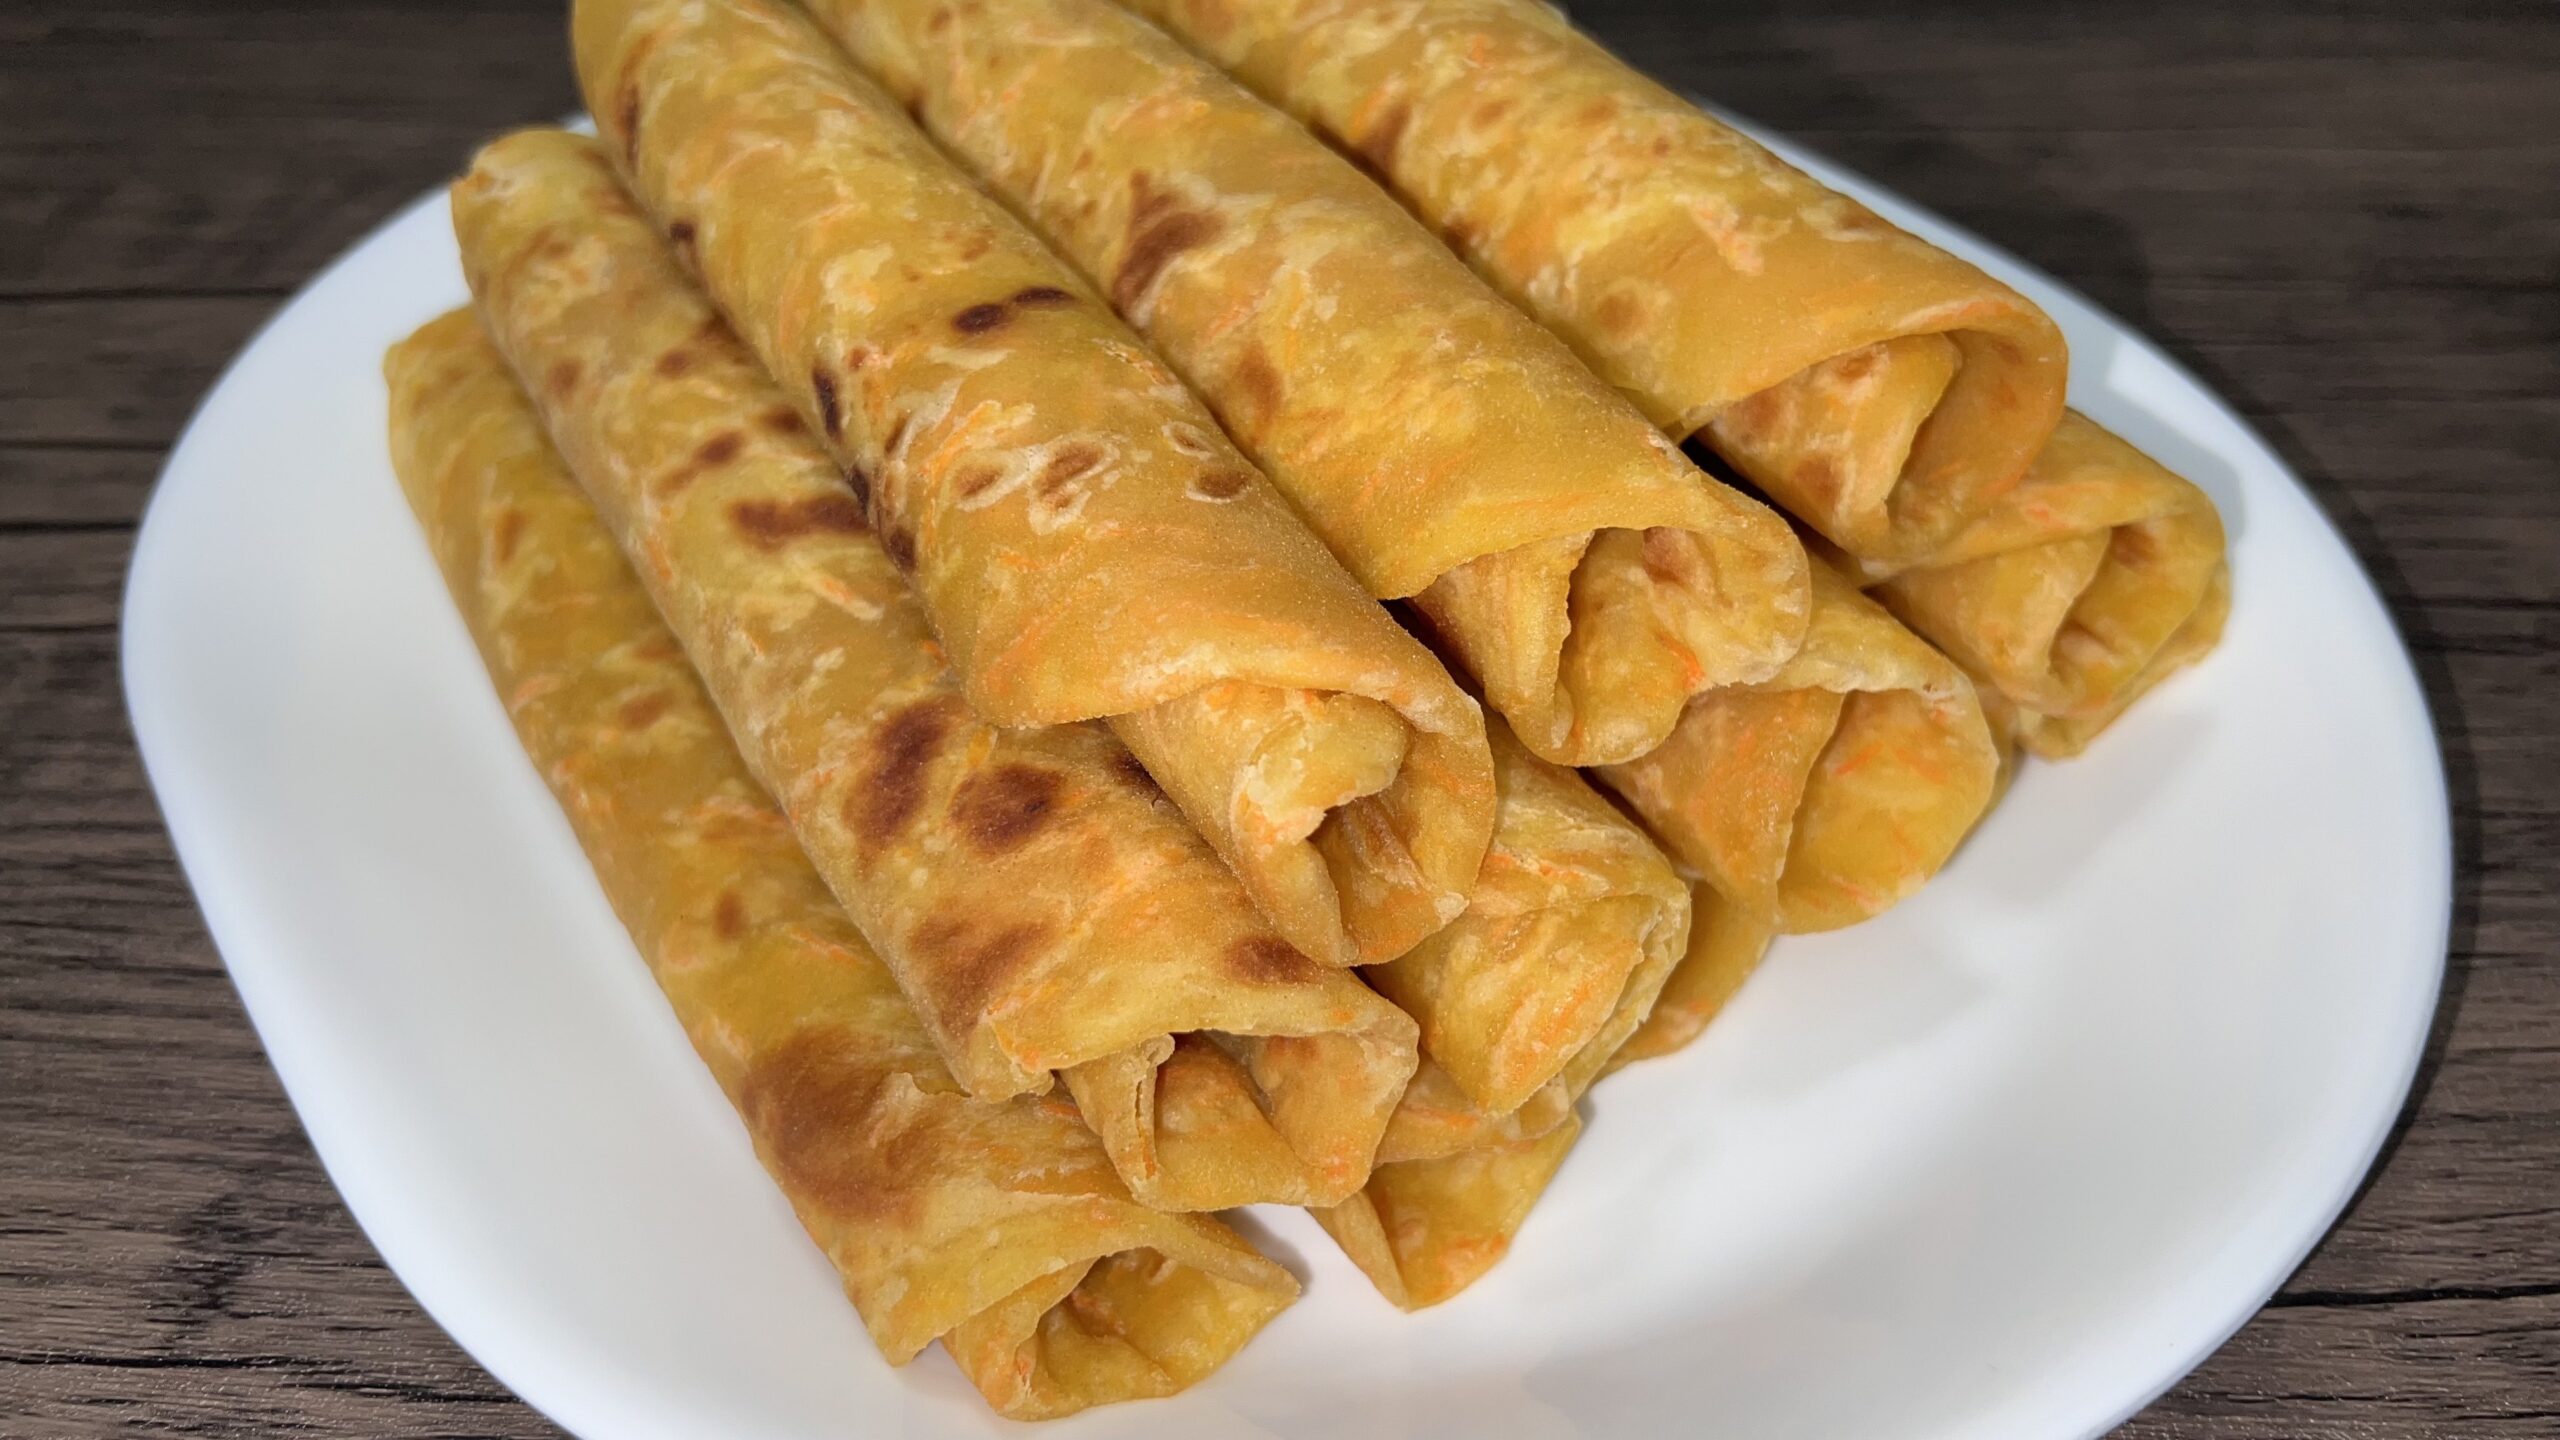
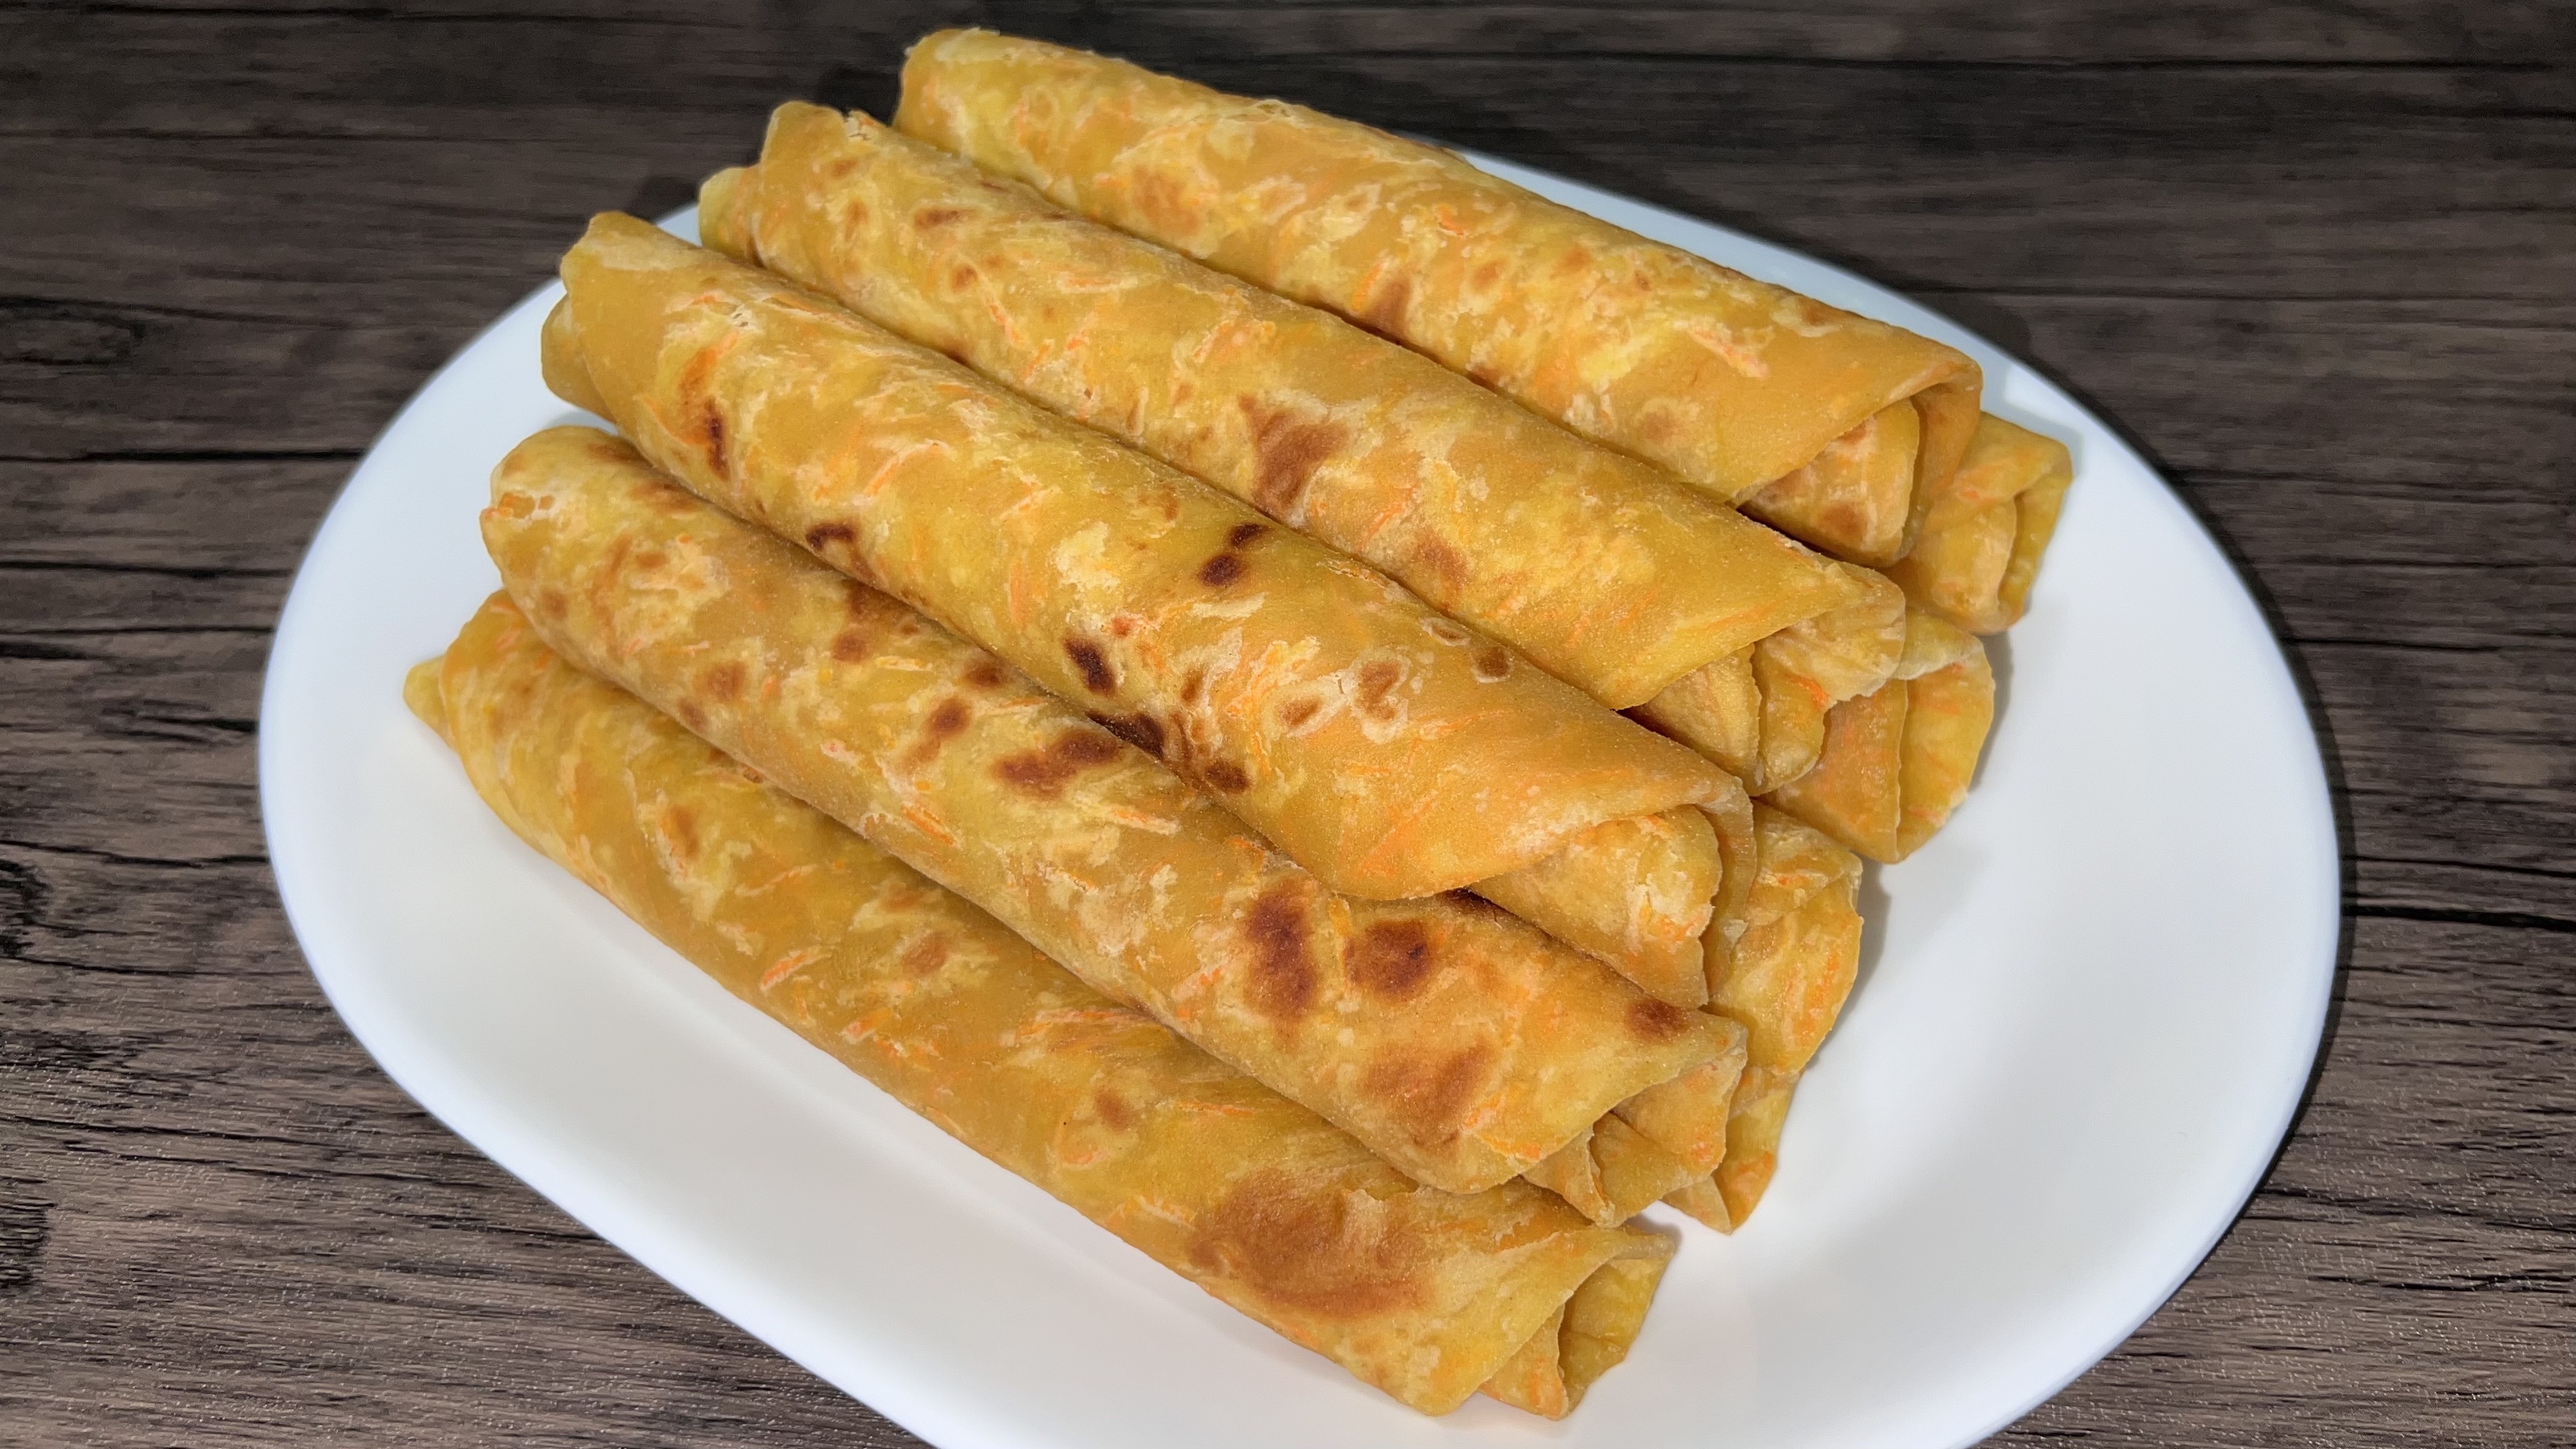
Chapati recipes can vary widely regarding what ingredients one chooses to add to the dough for color and/or flavor. You’ve probably seen that deep orange or green chapati somewhere and wondered what was going on. Some cooks will choose to add pureed vegetables like spinach or pumpkin leaves for the green color, or a pumpkin mush for the orange color. In this recipe, we are adding carrots for a beautiful color and a unique flavor. Carrot chapati is for the most part similar to regular chapati that is served for lunch and dinner with savory dishes like stews and soups, and quite different from buttery breakfast chapati. You can also enjoy carrot chapati as a snack at any time of the day. Here’s how to make carrot chapati.
How to Add Carrots to Chapati
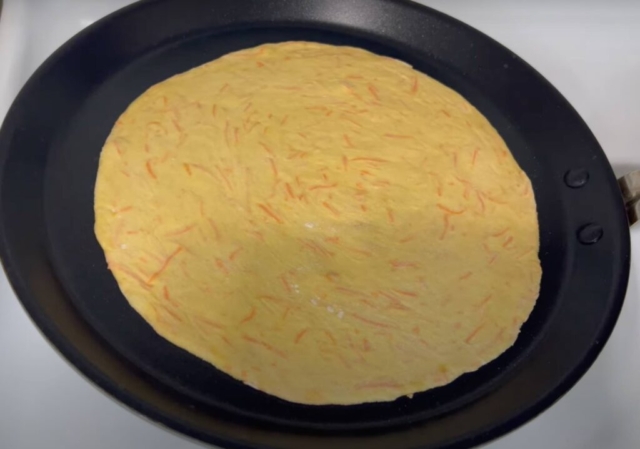
There are two main ways to add carrot to chapati the dough; the first and probably quite common one is by steaming or boiling and then pureeing the carrot. You then run the puree through a strainer to get rid of any lumps, and you add the resulting smooth and beautifully bright orange puree to the chapati dough. This chapati, of course, comes out uniformly orange. The second method and the one which I tend to stick to, involves grating fresh carrot and adding it directly to the flour. This method results in chapati that is speckled with orange on a slightly lighter background, and I find it so beautiful. This second method is the one I demonstrate in this recipe.
Ingredients for Carrot Chapati
Carrot: Go for fresh carrots to achieve the best results in this recipe. You will need enough carrots to produce two cups when grated.
All-purpose flour: Chapati is an unleavened bread, so, no raising agents are added to the flour. When measuring your flour for this recipe, the cups should be flattened at the top. Heaped cups would result in excess flour.
Vegetable oil: For kneading, rolling for layers, and cooking. Canola or regular vegetable oil will do but not nut or olive oil.
Warm water: About 500ml for kneading the dough.
Salt: This chapati is a savory dish.
More flour and vegetable oil for later steps: Including rolling the chapati dough to create layers, rolling the pieces for cooking, and eventually cooking the chapati.
Steps for Making Carrot Chapati
Grate the Carrot
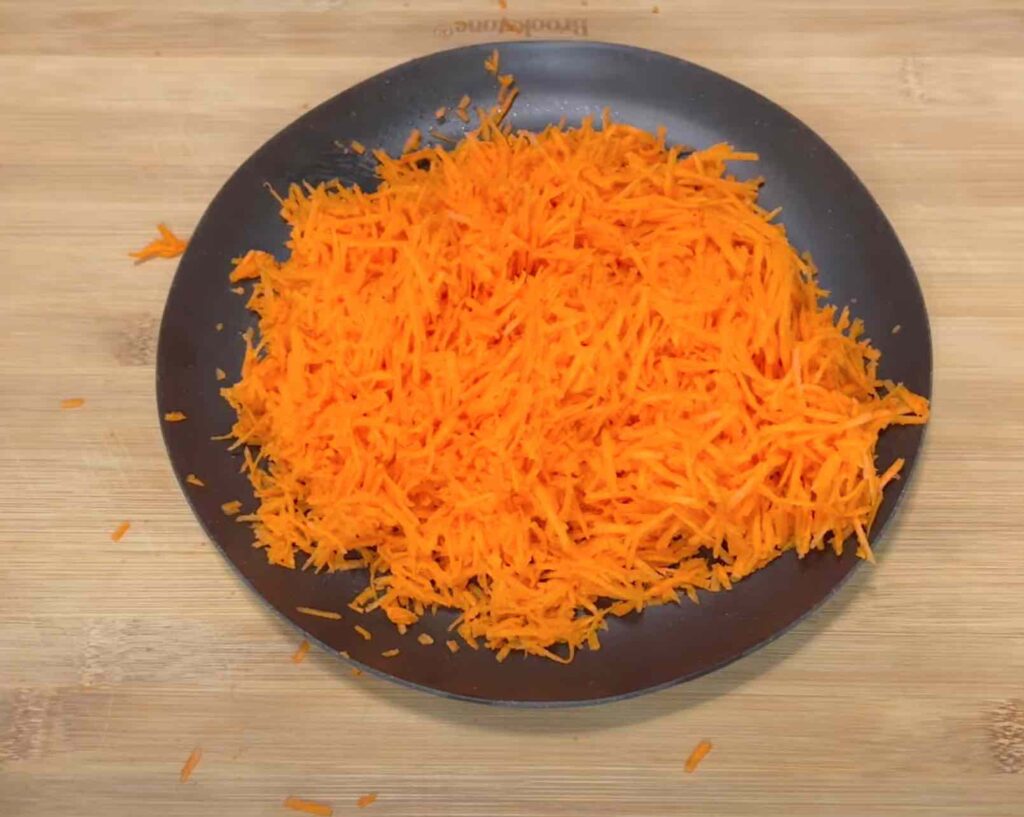
Step 1: Grate the carrot using the small holes of the grater. Not the rough raspy side but the one that gives you thin pieces of carrot. This ensures that the carrot integrates well into the dough and is still distinct enough to give your chapati that speckled look.
Knead the Dough
Step 2: Measure flour into a large bowl. Add salt to it and whisk to combine the dry ingredients.
Step 3: Add two cups of grated carrot into the flour mixture. The cups need not be heaped or highly compressed. Then, use a spatula to mix the carrot into the flour. Ensure it is fully coated and evenly distributed into the flour.
Step 4: Add a quarter cup of vegetable oil to the flour. Follow that with about 300ml of water and knead. You can use your hands or a mixer. Continue adding the rest of the water a little at a time and knead the dough until all the flour is absorbed into the dough and you have achieved the right texture (see recipe video at the bottom of this post). The dough should be quite firm at this point.
Step 5: Add 1/4 cup (or 1/8 of a cup if you feel the former is too much for you) of vegetable oil to the dough and continue kneading until the dough is smooth. This second addition of oil will ensure your chapati is soft and less chewy. The dough will get softer upon this second addition of oil, hence why it should be quite firm before this step.
Step 6: Shape the dough into a ball and place it in the bowl. Cover it using cling wrap, a clean kitchen towel, or a lid, and let it relax for at least fifteen minutes. A relaxed dough is much easier to work with.
Add layers to the dough
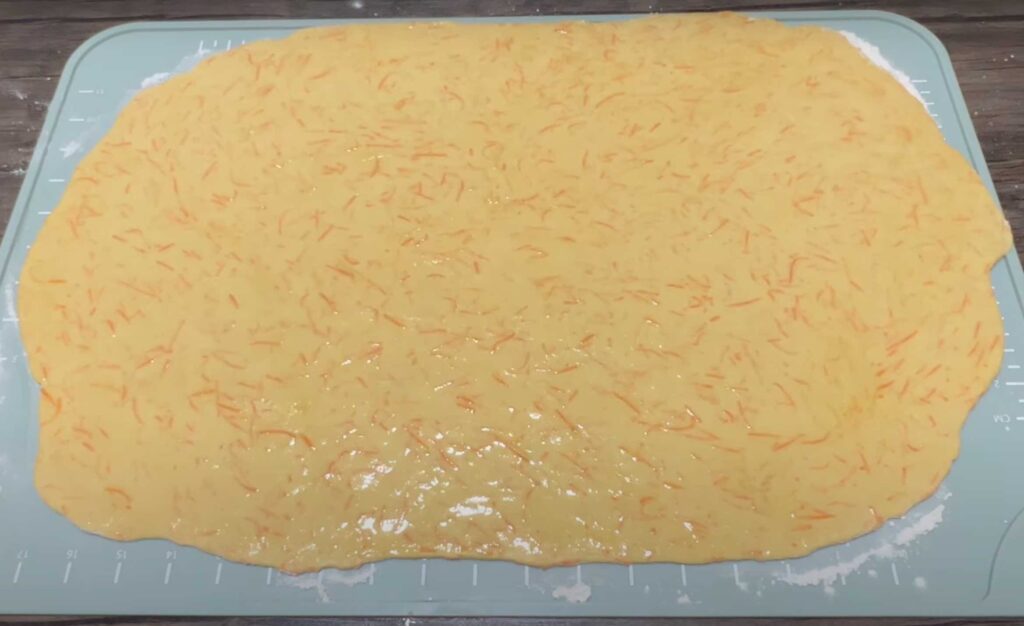
Step 7: On a wide, clean, and dry surface, sprinkle about a tablespoon of flour. Then, gently place the dough onto it. Sprinkle some more flour on the top side and roll the dough out into a huge circle. NOTE: Do not knead the dough anymore at this stage as it needs to stay relaxed.
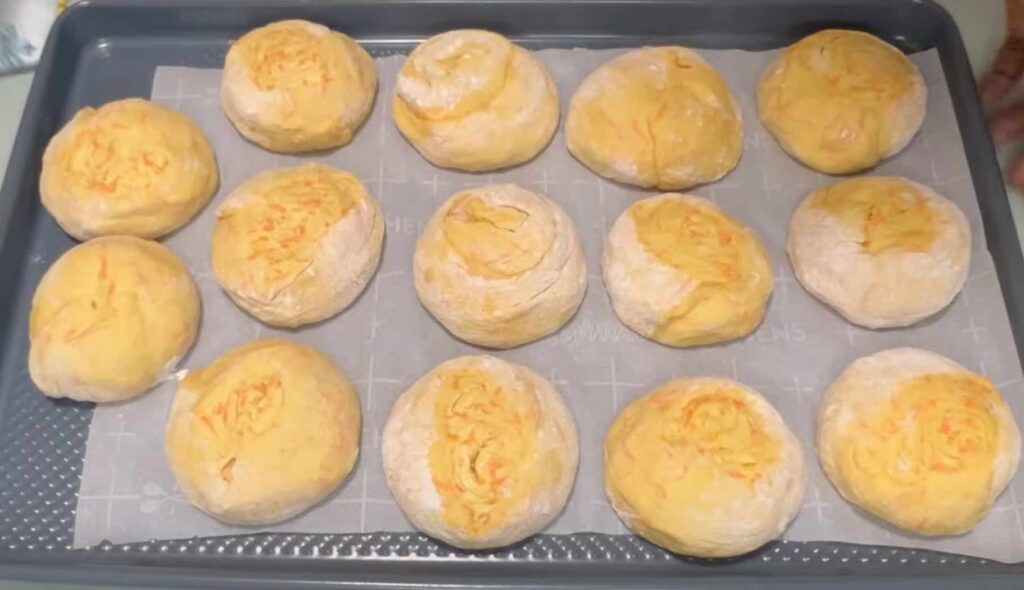
Step 8: Apply vegetable oil all over the rolled-out dough. Use a basting brush or your palm to do this. Then, working from one edge, roll the dough back up into one long roll. Use a pastry scraper or knife to cut the roll into equal and sizeable pieces depending on how large you want your chapatis to be. This dough produced fourteen chapatis for me. Shape each piece into a nice and round ball by tucking in any loose edges and pressing gently. Keep the pieces covered with a kitchen cloth as you move on with the next steps, so they don’t dry out.
Cook your Chapati
Step 9: Sprinkle a little flour on your working surface and roll out one chapati at a time. Roll it slightly thin but not translucent thin. It shouldn’t be too thick either as that could lead to chewy or undercooked chapati.
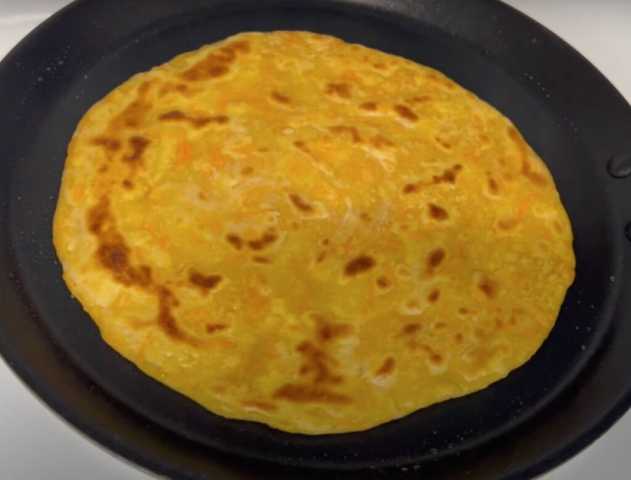
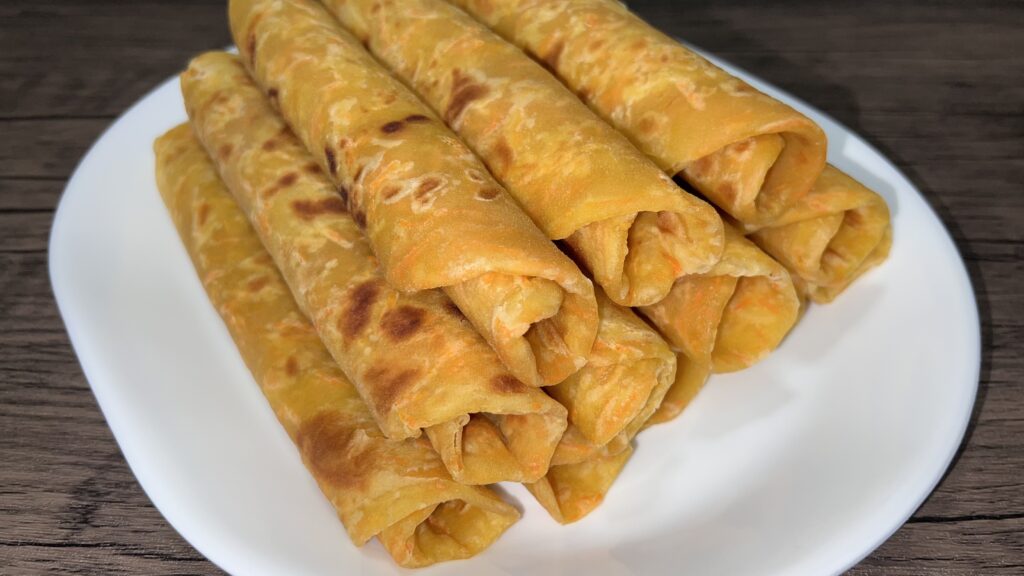
Step 10: Heat a heavy enough, non-stick frying pan on medium to medium-high. Place the rolled-out chapati dough on the pan and let it cook until the top side sets and the bottom begins to brown. Turn it over and cook on the other side. At this point, apply some more cooking oil on the entire top side using a basting brush or a spoon. Flip the chapati and do the same on the second side. Once your chapati has beautiful brown spots on both sides, it is ready. Take it off the pan and place it on a wide plate lined with paper towels (optional) for moisture absorption. Repeat these steps for the rest of the chapati.
NOTE: If not serving your chapati immediately, keep it covered with a large bowl to retain moisture.
Serving Suggestions for Carrot Chapati
Serve your carrot chapati with any of the following dishes. I have linked my favorite recipe for each dish in the text.
- Vegetarian options such as green grams stew, lentil stew, pinto bean stew, or kidney bean stew.
- Use it as a burrito wrap for rice, sautéed cabbage, cheese, and meat e.g., chicken fajitas.
- Meat options such as beef ribs stew or this chicken in coconut milk stew.
- Use it as a taco shell and fill it with baked pork chunks and Guacamole or Kachumbari (tomato-onion salad).
- Enjoy it as a snack with a beverage like Kenyan tea.
- Make this Ugandan Rolex which is chapati layered with eggs. Enjoy your Rolex with a drink.
Additional Tips for Perfect Carrot Chapati
- Make sure to regulate your stove heat between medium and medium-high as needed. To high heat will burn the chapatis while too low heat will dry them out.
- When rolling out your chapatis to cook, use flour minimally on the working surface. Just enough to prevent sticking. Too much flour will cause your chapati to be dusty, and that dry flour will burn and darken your chapati.
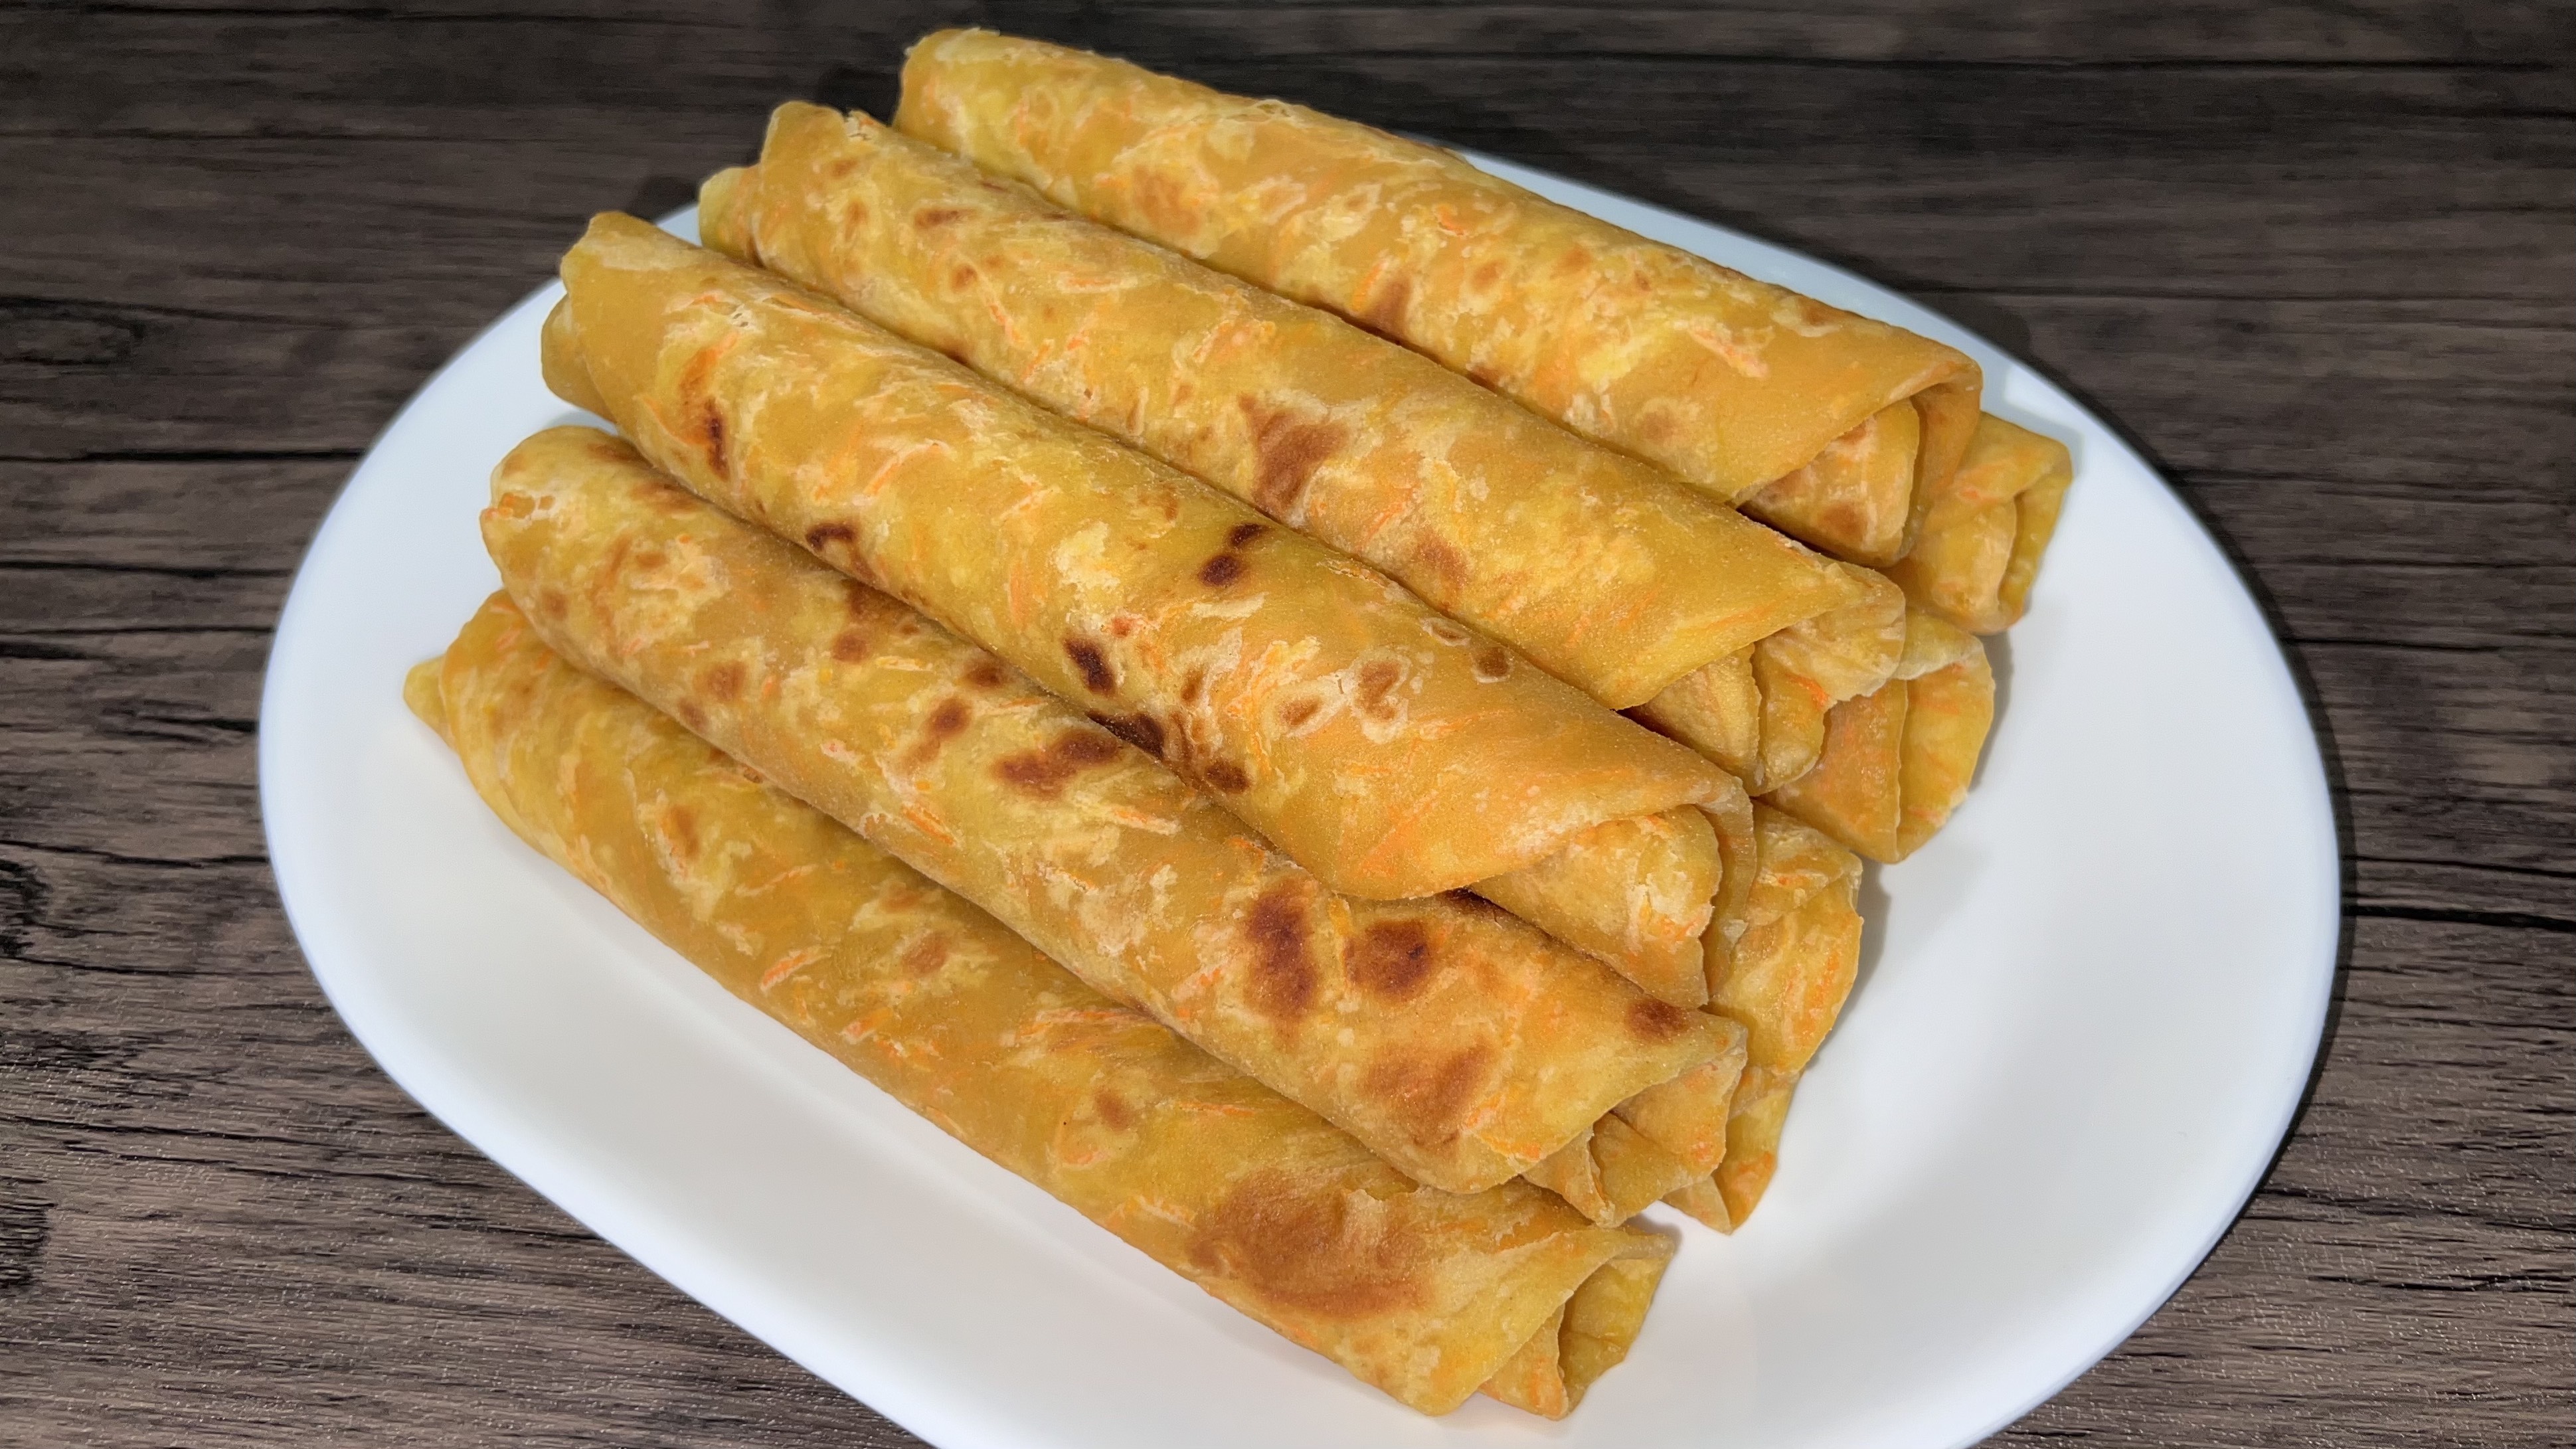
- Chapati can come out of the pan a little flaky, even firm at first but as you pile them up one after another, their moisture softens them, and they should fold effortlessly. So, make sure to pile them up when cooking.
- Always serve this chapati warm. A few seconds in the microwave are enough to give that soft texture back. Be careful not to overheat them as they dry out very quickly.
How to Preserve Leftover Carrot Chapati
- Preserve carrot chapati moisture by keeping it covered. Allow any leftovers to cool down while covered, then transfer them to an airtight container (like gallon-size Ziplocs) for storage. Chapati dries out quickly if left uncovered.
- Preserve carrot chapati freshness by freezing any leftovers. Refrigerating doesn’t work well – they lose that freshness after about three days in the fridge.
How to Reheat Leftover Carrot Chapati
- You can heat up frozen carrot chapati in a similar way you do any other chapati – on the stovetop or in the microwave. If microwaving, do about 20 or 30 seconds at a time and flip it over. You will hardly need to go over a minute and a half or your chapati will dry out.
- On the stovetop, simply place the frozen carrot chapati on a frying pan and heat it on medium. No additional oil is needed. Flip it after every few seconds so it heats uniformly. Allow it to heat thoroughly before taking it off. FYI, Chapati that is reheated on the stovetop always tastes better than microwaved chapati because it regains that crispy exterior.
Print the Recipe
How to Make Carrot Chapati
Course: VegetarianCuisine: East African, KenyanDifficulty: Moderately Difficult7
servings25
minutes35
minutes1
hourCarrot Chapati Recipe
Ingredients
All-purpose flour – 6 cups (flat on top) (~125g cup)
Grated carrots – 2 cups
Cooking oil – 1/2 cup (divide into 2 for 2 steps of kneading)
Salt – 1/2 tablespoon
Warm water – 500ml
More flour and cooking oil for later steps
Directions
- Grate the carrot using the small holes of the grater. Not the rough raspy side but the one that gives you thin pieces of carrot. This ensures that the carrot integrates well into the dough and is still distinct enough to give your chapati that speckled look.
- Measure flour into a large bowl. Add salt to it and whisk to combine the dry ingredients.
- Add two cups of grated carrot into the flour mixture. The cups need not be heaped or highly compressed. Then, use a spatula to mix the carrot into the flour. Ensure it is fully coated and evenly distributed into the flour.
- Add a quarter cup of vegetable oil to the flour. Follow that with about 300ml of water and knead. You can use your hands or a mixer. Continue adding the rest of the water a little at a time and knead the dough until all the flour is absorbed into the dough and you have achieved the right texture (see recipe video at the bottom of this post). The dough should be quite firm at this point.
- Add 1/4 cup (or 1/8 of a cup if you feel the former is too much for you) of vegetable oil to the dough and continue kneading until the dough is smooth. This second addition of oil will ensure your chapati is soft and less chewy. The dough will get softer upon this second addition of oil, hence why it should be quite firm before this step.
- Shape the dough into a ball and place it in the bowl. Cover it using cling wrap, a clean kitchen towel, or a lid, and let it relax for at least fifteen minutes. A relaxed dough is much easier to work with.
- On a wide, clean, and dry surface, sprinkle about a tablespoon of flour. Then, gently place the dough onto it. Sprinkle some more flour on the top side and roll the dough out into a huge circle. NOTE: Do not knead the dough anymore at this stage as it needs to stay relaxed.
- Apply vegetable oil all over the rolled-out dough. Use a basting brush or your palm to do this. Then, working from one edge, roll the dough back up into one long roll. Use a pastry scraper or knife to cut the roll into equal and sizeable pieces depending on how large you want your chapatis to be. This dough produced fourteen chapatis for me. Shape each piece into a nice and round ball by tucking in any loose edges and pressing gently. Keep the pieces covered with a kitchen cloth as you move on with the next steps, so they don’t dry out.
- Sprinkle a little flour on your working surface and roll out one chapati at a time. Roll it slightly thin but not translucent thin. It shouldn’t be too thick either as that could lead to chewy or undercooked chapati.
- Heat a heavy enough, non-stick frying pan on medium to medium-high. Place the rolled-out chapati dough on the pan and let it cook until the top side sets and the bottom begins to brown. Turn it over and cook on the other side. At this point, apply some more cooking oil on the entire top side using a basting brush or a spoon. Flip the chapati and do the same on the second side. Once your chapati has beautiful brown spots on both sides, it is ready. Take it off the pan and place it on a wide plate lined with paper towels (optional) for moisture absorption. Repeat these steps for the rest of the chapati.
NOTE: If not serving your chapati immediately, keep it covered with a large bowl to retain moisture.
Recipe Video
Notes
- Make sure to regulate your stove heat between medium and medium-high as needed. To high heat will burn the chapatis while too low heat will dry them out.
- When rolling out your chapatis to cook, use flour minimally on the working surface. Just enough to prevent sticking. Too much flour will cause your chapati to be dusty, and that dry flour will burn and darken your chapati.
- Chapati can come out of the pan a little flaky, even firm at first but as you pile them up one after another, their moisture softens them, and they should fold effortlessly. So, make sure to pile them up when cooking.
- Always serve this chapati warm. A few seconds in the microwave are enough to give that soft texture back. Be careful not to overheat them as they dry out very quickly.
Conclusion
That’s my simple and very easy-to-follow recipe for carrot chapati. Beautifully yellow, moist, and soft chapati that is also packed with flavor and additional nutrients. I hope you try this recipe out and that you have fun making it.
