This post may contain affiliate links, which means I may receive a commission from purchases made through the links.
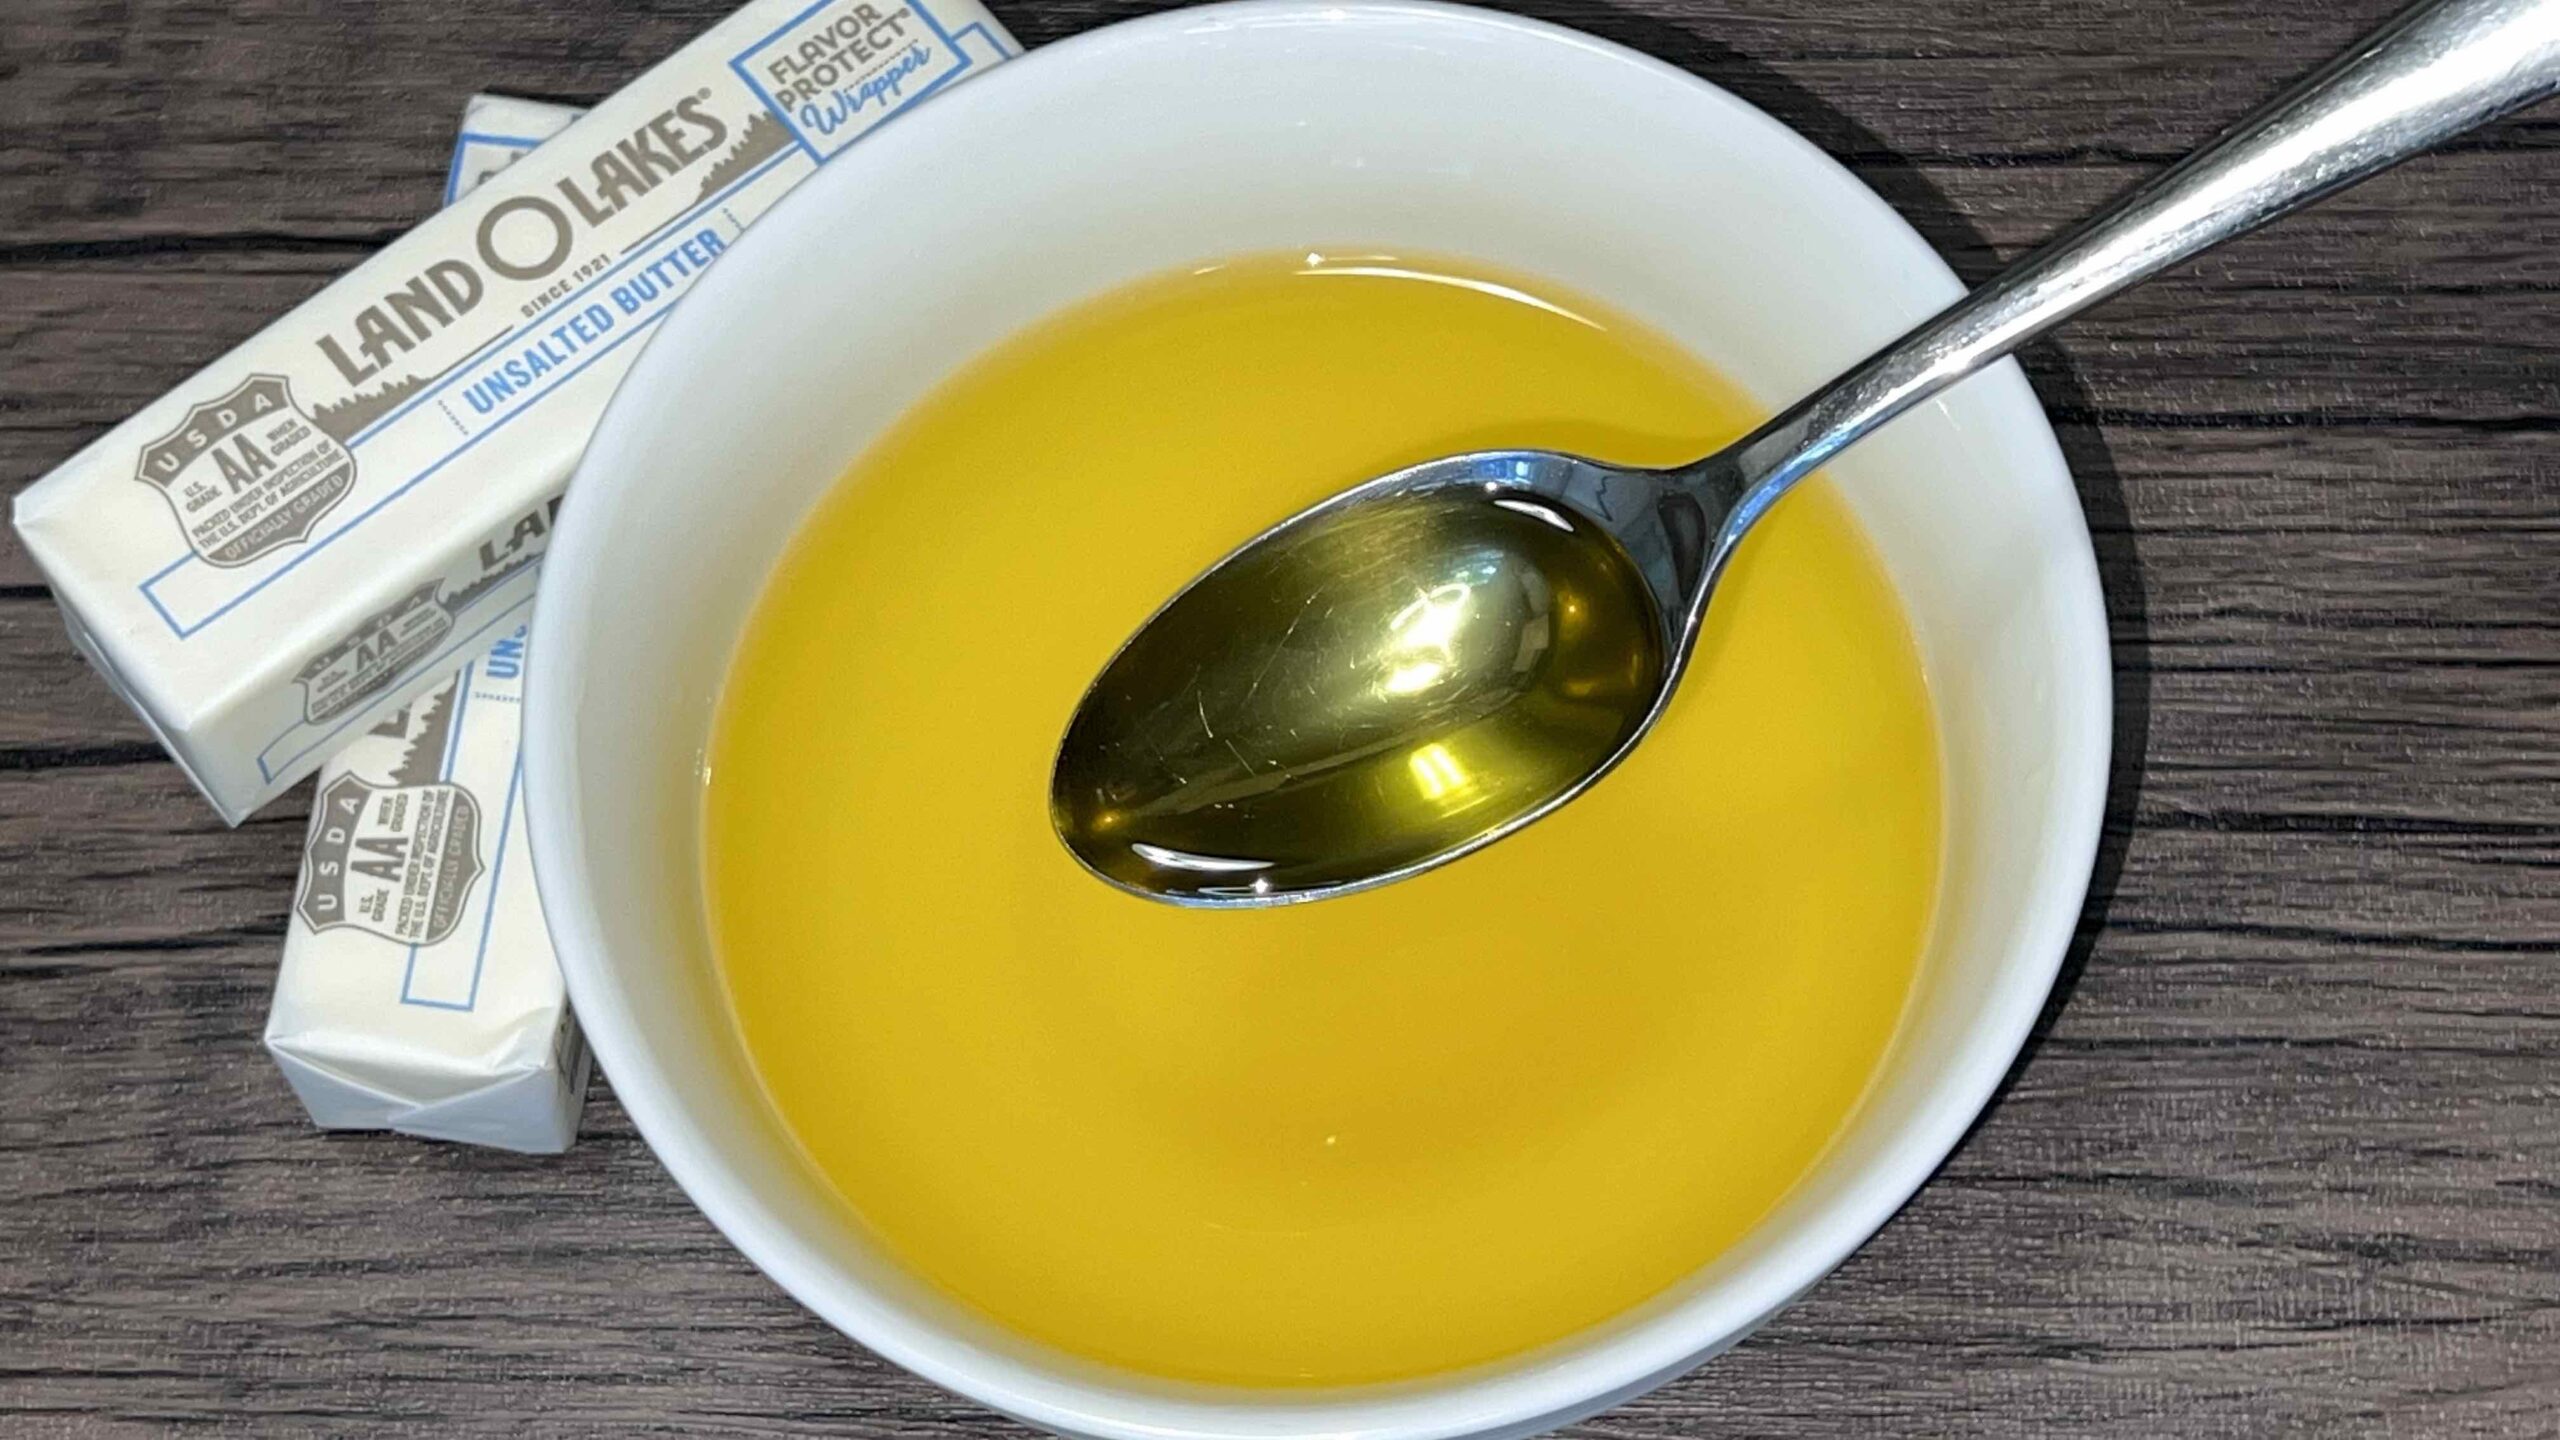
Ghee is a type of clarified butter that is made by heating regular butter until all liquid evaporates and solids separate and caramelize. Unlike regular butter, ghee has a high smoke point (because the milk solids are gone) which means you can use it to fry, sauté, roast, and make countless amazing recipes (see suggestions below). It has an amazing nutty flavor resulting from the milk solids’ caramelization. Honestly, once you start using ghee, you may find yourself dropping regular butter and opting for ghee for many recipes. Let’s talk about how to make ghee at home.
Is there a difference between ghee and clarified butter?
Yes. Well, kind of. Experts note that all ghee is clarified butter but not all clarified butter is ghee. The difference is in the length of time the butter is cooked. But overall, the two are similar in that both involve the removal of milk solids and water from butter.
Clarified Butter
- Process: Clarified butter is made by melting butter, simmering it until water evaporates, and skimming off the milk solids. It usually retains a neutral flavor considering that caramelization of the milk solids is not allowed to occur.
- Usage: Clarified butter is often used for sautéing and frying due to its high smoke point. It is more commonly used in European cuisines.
Ghee
- Process: Ghee is a type of clarified butter that is cooked longer. During this process, the milk solids are allowed to caramelize, giving ghee its rich, nutty flavor and aroma.
- Usage: Ghee has a higher smoke point than clarified butter, making it excellent for high-heat cooking. It is perfect for sauteing, roasting, frying, etc., and can be added to sauces too due to its rich flavor and and intense aroma. Ghee is widely used in Indian cuisine.
How to make ghee at home
Making ghee at home is very simple. Here are the steps to follow.
Ingredient
- Unsalted butter. Preferably softened so it melts easily and quickly, but you can also use butter straight from the fridge.
Steps
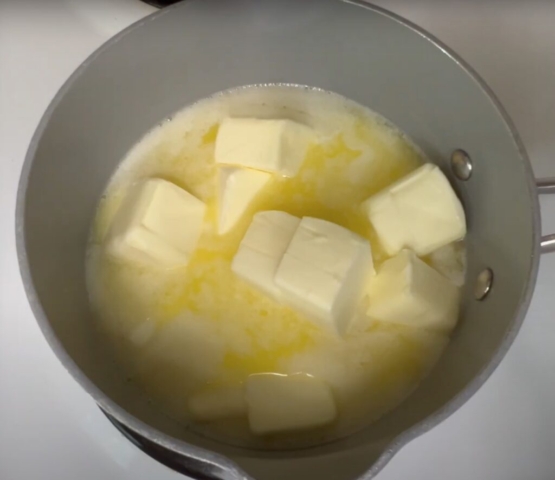
#1. Melt the Butter. Place the unsalted butter in a saucepan over medium-low heat. It is a good idea to use a pan with a lightly colored interior (white, silver, light gray, etc.) as opposed to one with a dark interior, so you can clearly see the level of browning of the solids. Otherwise, you could accidentally overcook it and end up with darkened ghee that has an acrid taste.
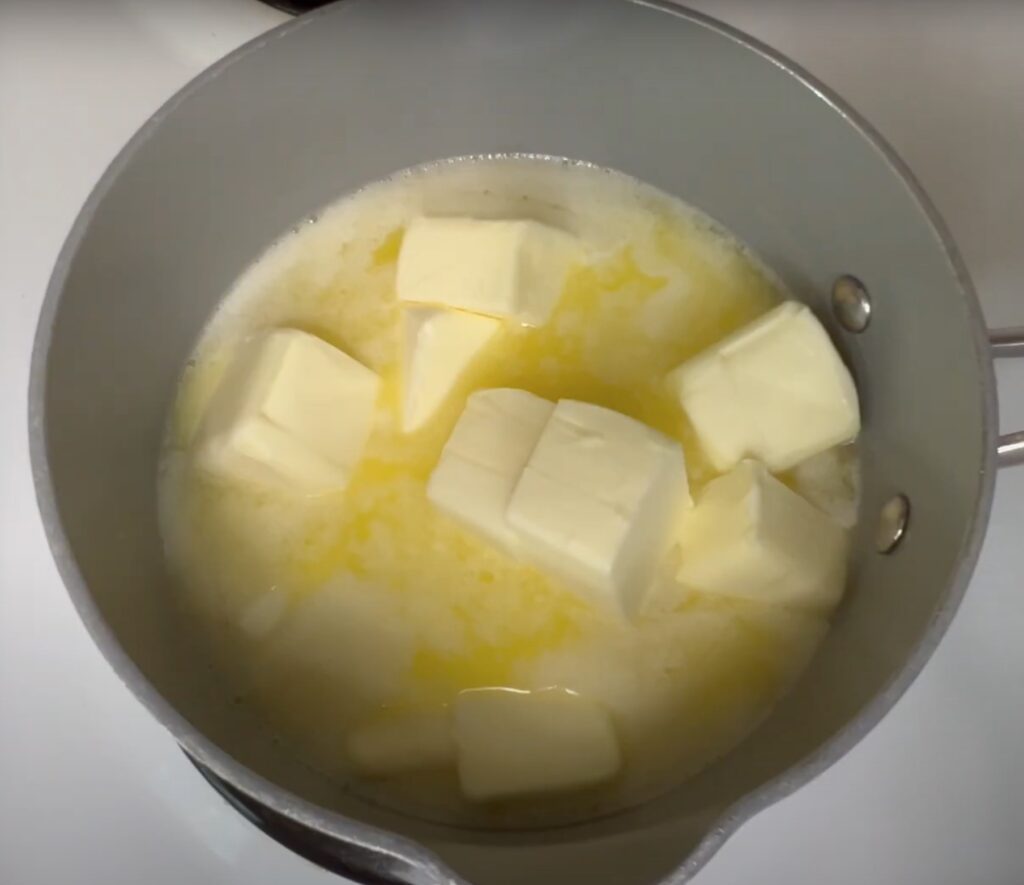
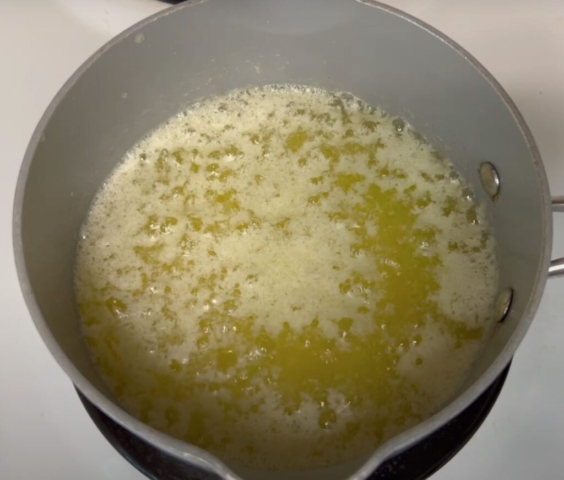
#2. Simmer the Butter. Once the butter has melted, reduce the heat to low. Let the butter simmer gently. You’ll see it start to bubble as the water content evaporates.
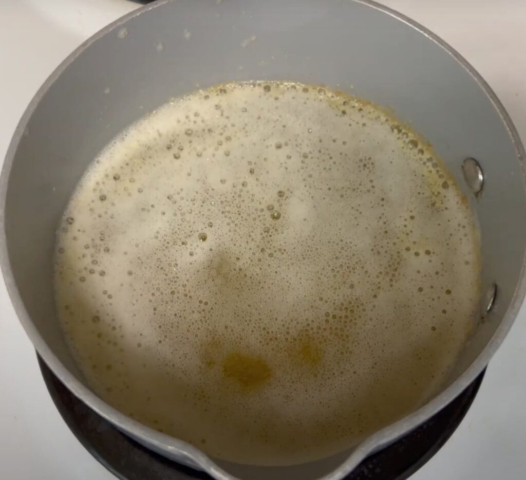
#3. Watch for Foam. As the butter cooks, milk solids will separate and sink to the bottom, while foam will form on the surface. You can skim off the foam with a spoon as it appears, but leaving it alone is okay too. Note that at this stage, you have clarified butter. Since we are looking for ghee, we’ll cook it for a little longer.
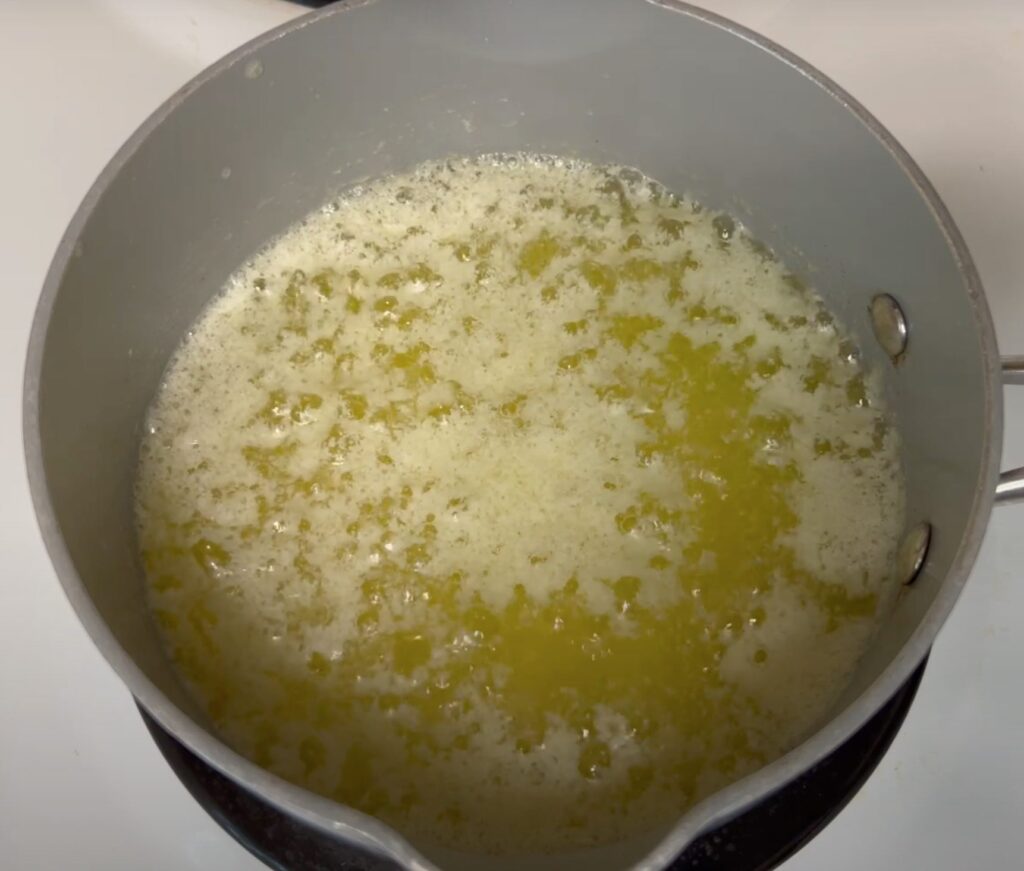
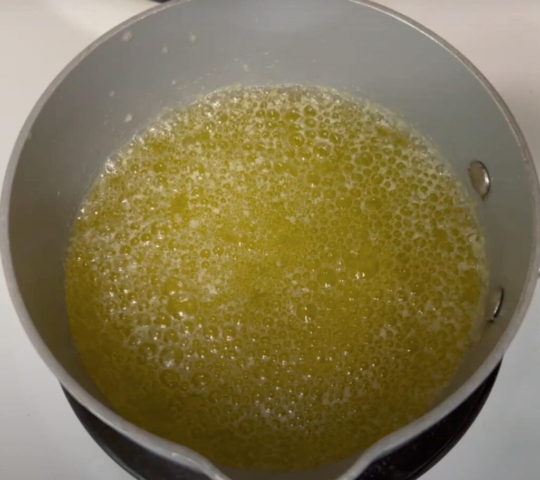
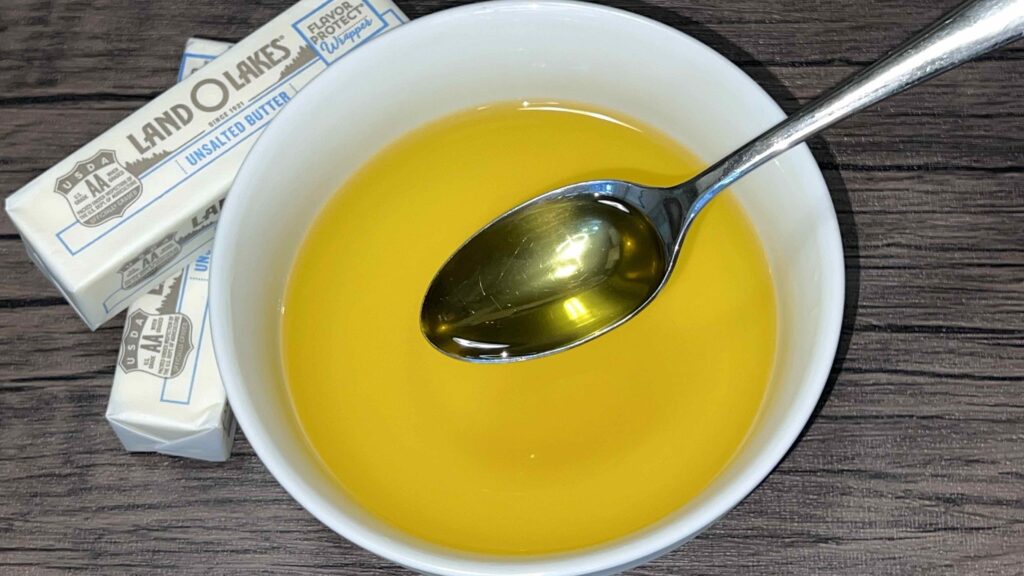
#4. Cook Until Golden. Continue simmering the butter until the liquid turns to a bright golden color, and you can see the milk solids at the bottom beginning to brown. The whole process may take about 15-20 minutes but it depends on the type of pan you are using and the amount of butter you are cooking. At this stage, the ghee is crystal clear if you scoop it up with a spoon, indicating that all solids have been removed. Be careful not to let it burn. Take it off the stove as soon as the solids at the bottom are slightly browned.
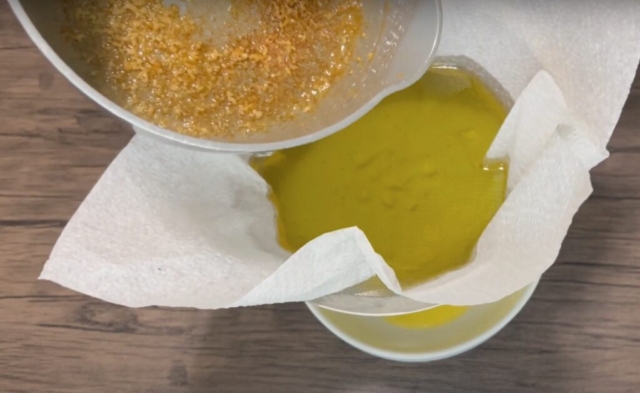
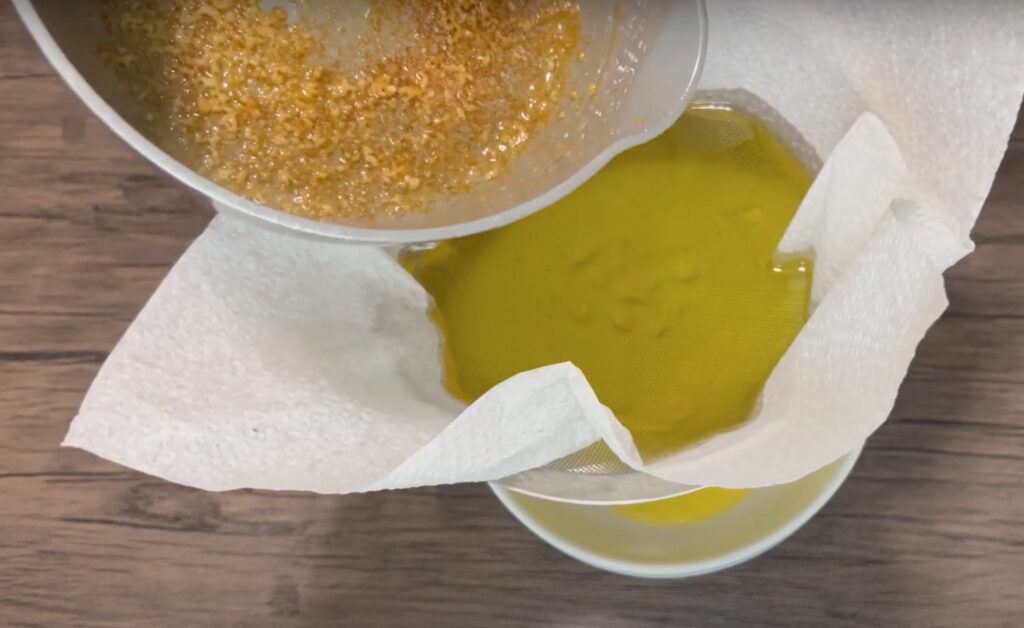
#5. Strain it. Let it cool slightly once you take it off the heat, then strain it through a fine mesh sieve or cheesecloth into a clean, dry bowl or jar. Straining ensures that you remove all the milk solids.
#6. Store it. Allow the ghee to cool completely before sealing the storage container. It can be stored at room temperature for several weeks or in the refrigerator for a longer shelf life.
How to Use Ghee (Recipe Suggestion)
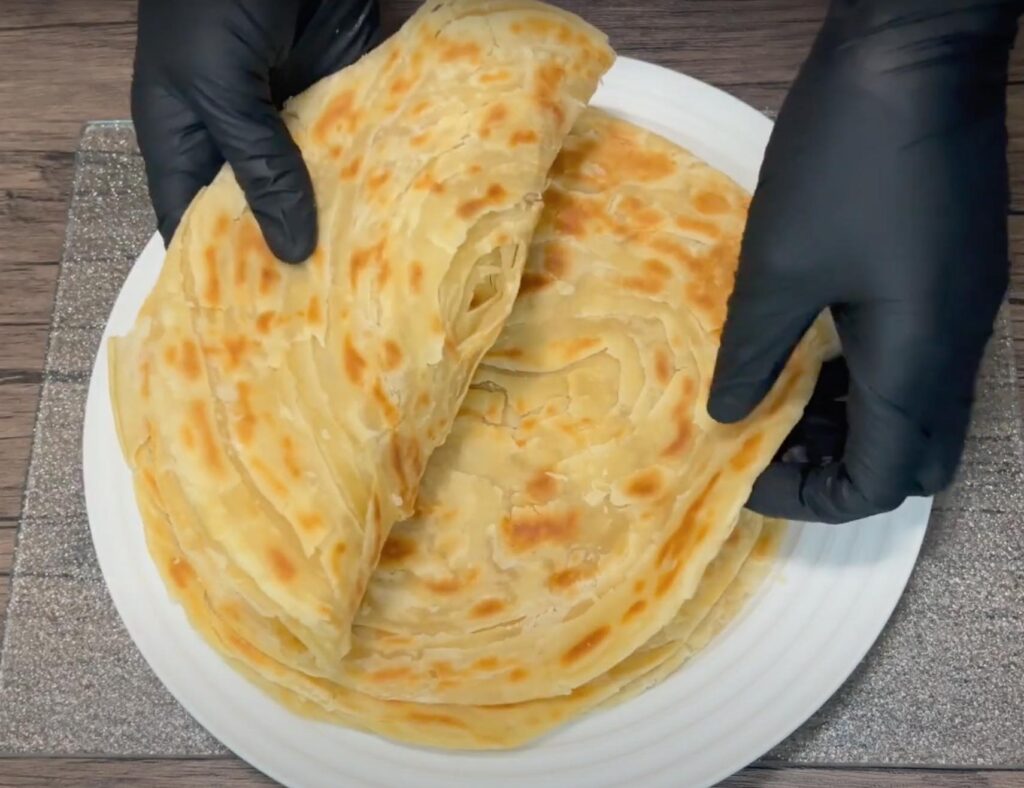
As mentioned earlier, ghee is most commonly used in Indian recipes. This article has a great compilation of recipes that call for it. One such recipe, which I happen to love a lot, is for ghee chapati or ghee paratha – a recipe that you are sure to fall in love with right from the first bite. This chapati is extremely tasty, layered, and with a perfect, flaky texture that makes it so enjoyable. Here is the link to the recipe video. I hope you will try it too. You can enjoy your chapati with lentil stew, green grams stew, kidney bean stew, or meat stews like this chicken stew.
Print the Recipe
How to Make Ghee or Clarified Butter at Home
Cuisine: IndianDifficulty: Easy20
minutesHow to make ghee at home
Ingredients
Unsalted Butter – 4 full sticks
Directions
- Melt the Butter. Place the unsalted butter in a saucepan over medium-low heat. It is a good idea to use a pan with a lightly colored interior (white, silver, light gray, etc.) as opposed to one with a dark interior, so you can clearly see the level of browning of the solids. Otherwise, you could accidentally overcook it and end up with darkened ghee that has an acrid taste.
- Simmer the Butter. Once the butter has melted, reduce the heat to low. Let the butter simmer gently. You’ll see it start to bubble as the water content evaporates.
- Watch for Foam. As the butter cooks, milk solids will separate and sink to the bottom, while foam will form on the surface. You can skim off the foam with a spoon as it appears, but leaving it alone is okay too. Note that at this stage, you have clarified butter. Since we are looking for ghee, we’ll cook it for a little longer.
- Cook Until Golden. Continue simmering the butter until the liquid turns to a bright golden color, and you can see the milk solids at the bottom beginning to brown. The whole process may take about 15-20 minutes but it depends on the type of pan you are using and the amount of butter you are cooking. At this stage, the ghee is crystal clear if you scoop it up with a spoon, indicating that all solids have been removed. Be careful not to let it burn. Take it off the stove as soon as the solids at the bottom are slightly browned.
- Strain it. Let it cool slightly once you take it off the heat, then strain it through a fine mesh sieve or cheesecloth into a clean, dry bowl or jar. Straining ensures that you remove all the milk solids.
- Store it. Allow the ghee to cool completely before sealing the storage container. It can be stored at room temperature for several weeks or in the refrigerator for a longer shelf life.
