This post may contain affiliate links, which means I may receive a commission from purchases made through the links.
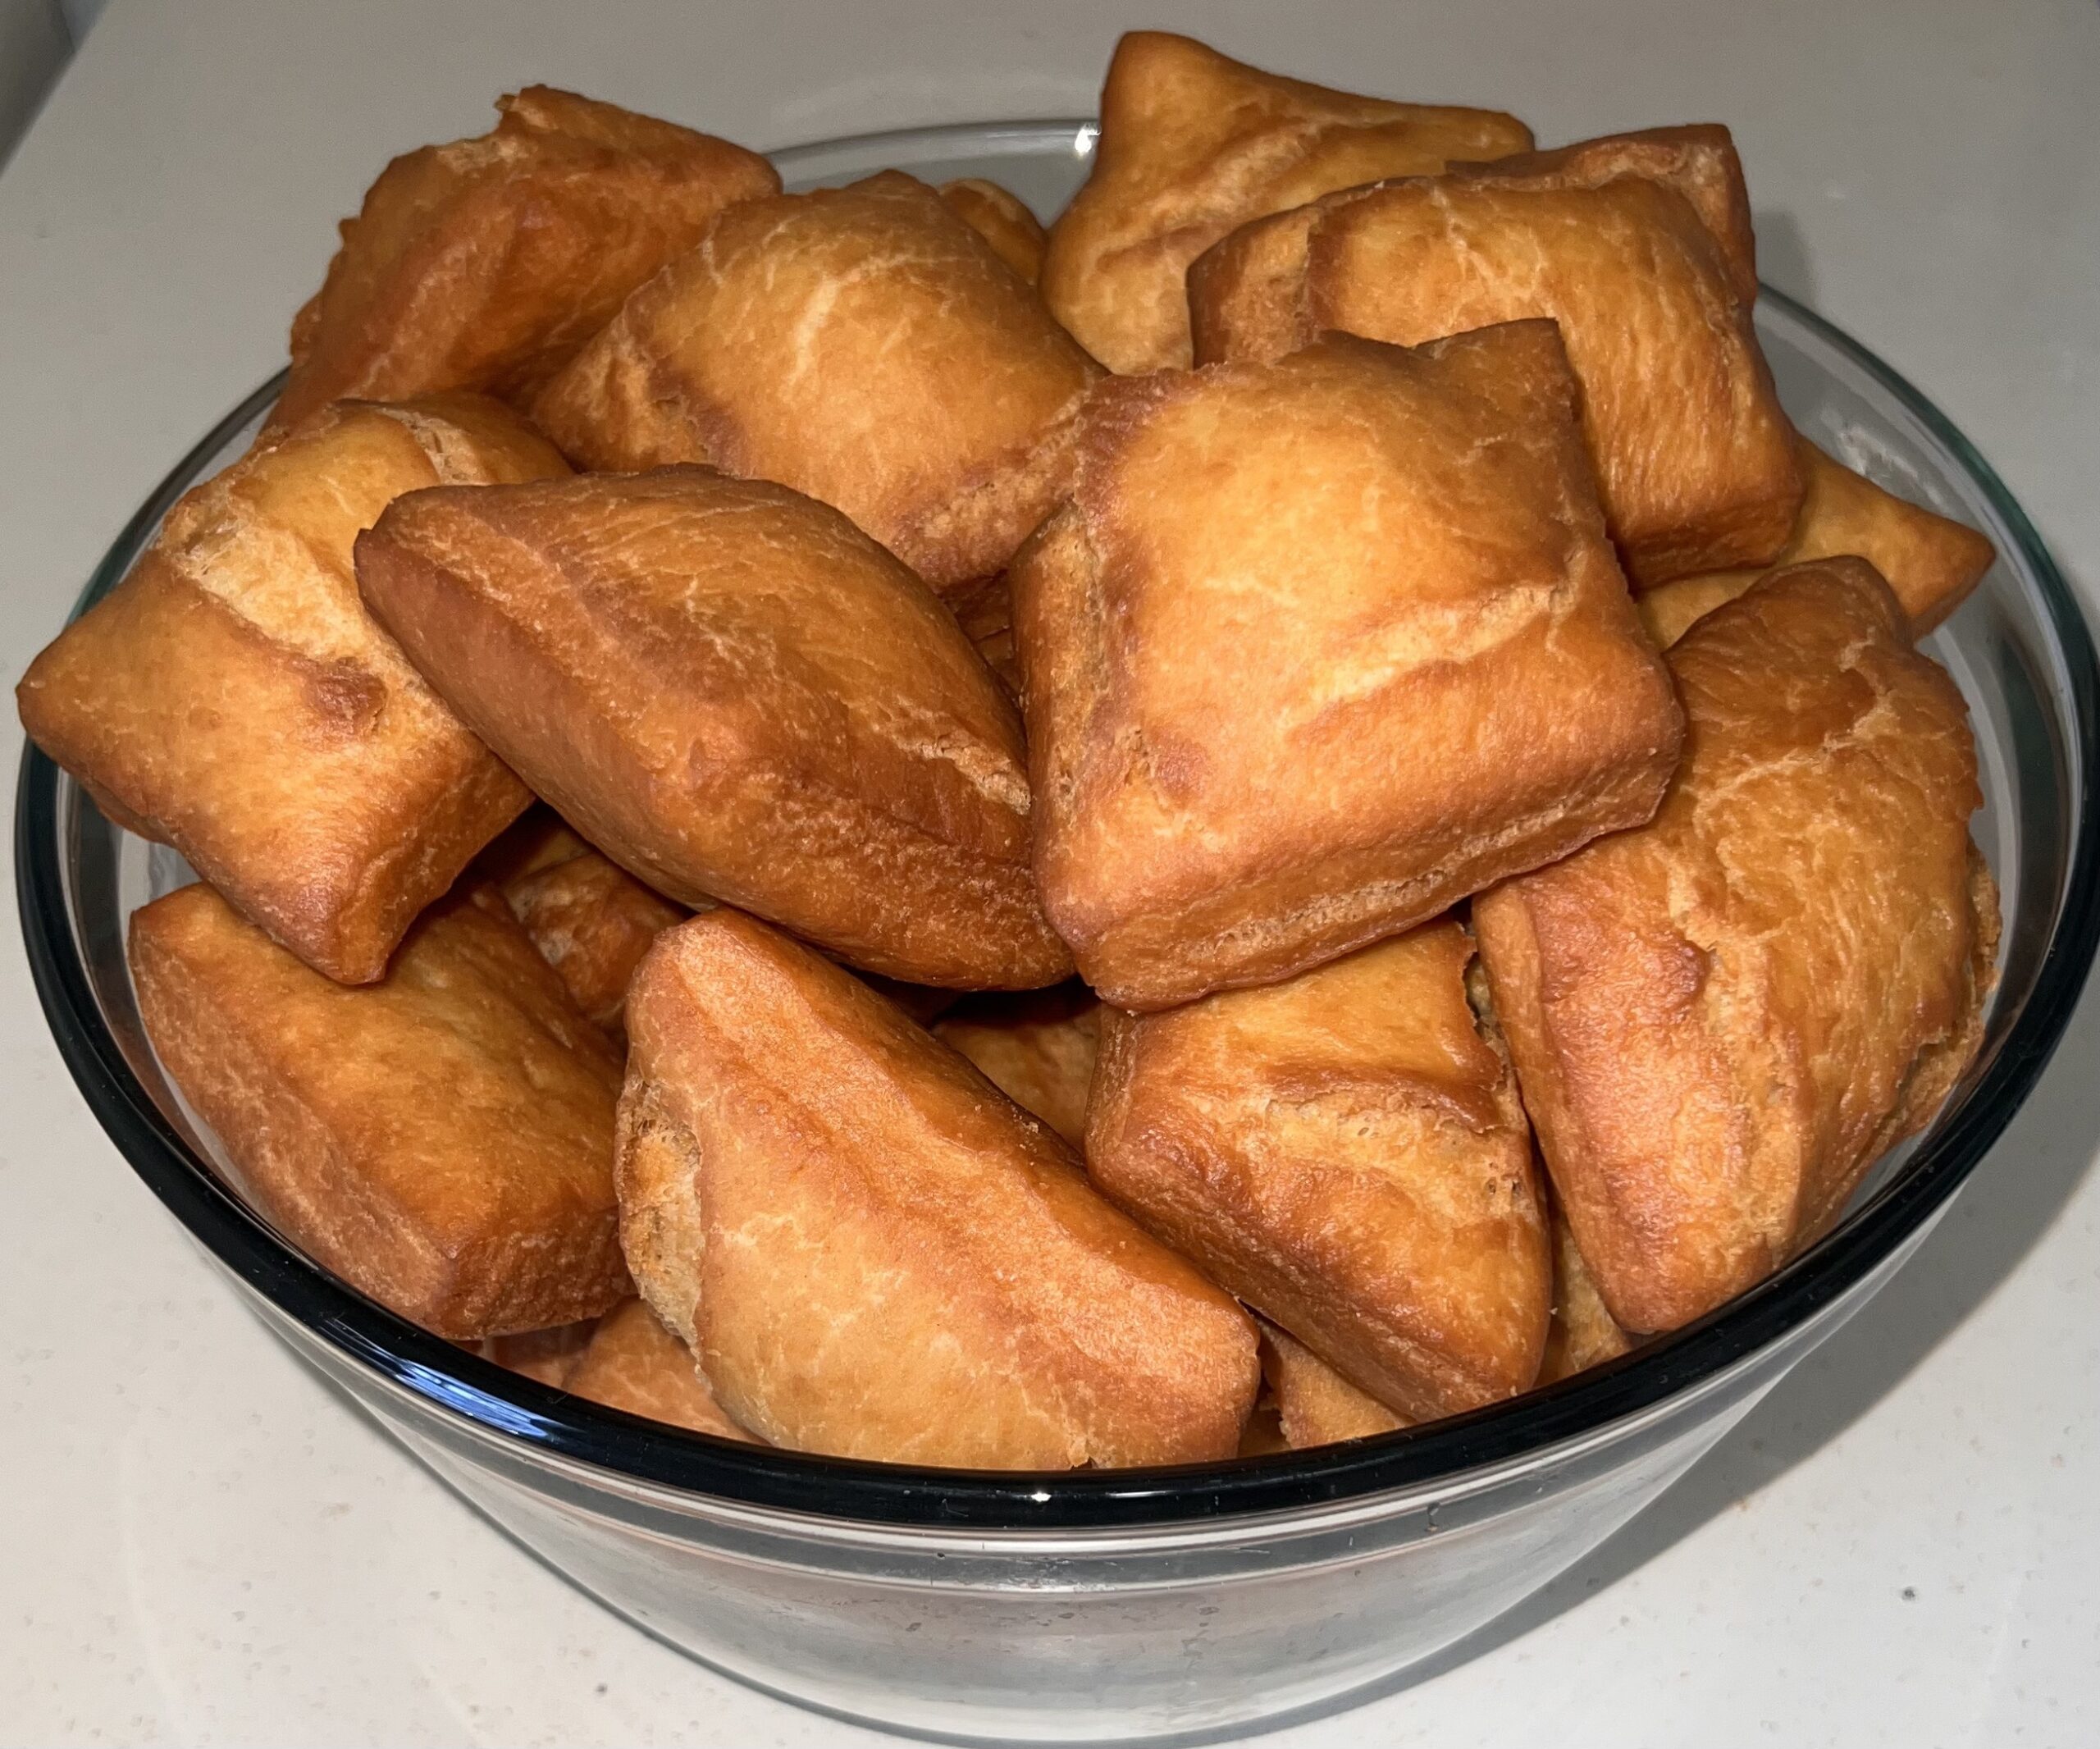
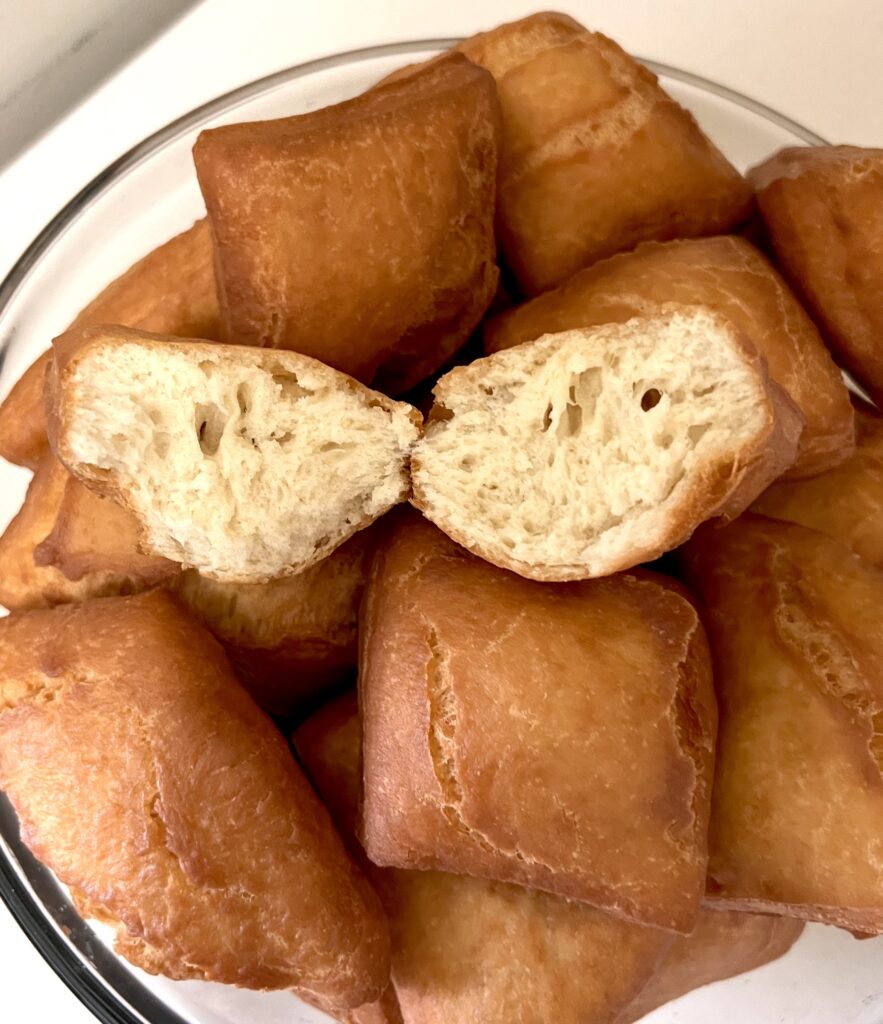
You could eat ten of these and not even realize it! This maandazi is soft, fluffy, and the tastiest ever. I worked on this recipe for some time to come up with the most accurate measurements for the ingredients because with maandazi, an excess of one ingredient can be disastrous, and so can an inadequate measurement of another. This maandazi recipe provides you with all the guidance you need to make mandazi that you are guaranteed to love.
Where is maandazi originally from?
Maandazi, sometimes referred to as ‘mandazi’, is a staple in Kenya, Tanzania, and Uganda. It is said to have originated from the Swahili coast of Kenya and Tanzania and it spread inland with time. Maandazi is a highly popular breakfast item in these countries with many households serving it with tea on a nearly daily basis. Many Kenyans buy maandazi from nearby shops while others choose to make it at home.
Maandazi is also a dish that is popularly served to guests in many East African households. Typically, it is served with tea or a soft drink soon after a guest arrives regardless of time of day. Maandazi that is served to guests is hardly ever bought, especially in cases where the guests are considered important (think: in-laws). Rather, it is made at home by whoever is the specialist in that area. You are not allowed to make this special maandazi if you are not good at it. That is where this recipe comes in. They will beg you to make more maandazi.


What is the difference between maandazi and mahamri?
I’ve seen the terms ‘maandazi’ and ‘mahamri’ being used interchangeably many times, but I have always known the two to be different. Maandazi is that which is made using baking powder while mahamri is made using yeast. While mahamri preparation requires more time as the dough with yeast must be allowed to rise, maandazi can be fried right after kneading the dough. This terminology mix-up shouldn’t worry you though. It is merely a case of language variation across geographical locations. For instance, I have heard Tanzanian friends use the term ‘half cake’ to refer to that which is made with baking powder, and ‘maandazi’ for whatever is made with yeast. Either way, the recipe is what is important. A maandazi recipe that calls for baking powder is not to be mixed up with that which requires yeast.
Is maandazi healthy?
Yes. Maandazi is healthy especially when you incorporate ingredients like eggs, milk, and butter as in this recipe. Milk and eggs are both high in protein, which means your mandazi will be protein-rich. Butter is rich in calcium and vitamin D which are essential in the development of strong bones. All these are in addition to the nutrients and benefits provided by wheat, which are energy from its starch, B vitamins, and dietary fiber. So, the ingredients used in this recipe not only enrich the flavor and texture of maandazi but also increase its nutritional value and make it more wholesome. Also, the sugar content in mandazi is much less than that in doughnuts, for example.
What are the ingredients for the best maandazi?
Maandazi can be made with just the basic ingredients (flour, baking powder, sugar, cooking oil, and salt). However, if you want better-tasting mandazi of a higher nutritional value, then you will need to add a few more ingredients. Those additional ingredients can also vary based on availability and personal preferences. The sections below should help you decide on what ingredients to include in your maandazi and how to go about doing so.
Wheat flour
Wheat flour is the main ingredient for making maandazi. I recommend that you use all-purpose flour as it will allow you to control the flavor of your mandazi. You may be tempted to use pre-made dough or self-rising flour to save time or avoid measuring tricky ingredients like baking powder, but oftentimes, these pre-made mixtures have flavors that are not ideal. For instance, self-rising flour is often too salty to produce great-tasting mandazi.
Make sure to fluff and loosen the flour before measuring it. This recipe does not require sieving of flour but definitely loosen it up so it is not too packed as you scoop it.
Baking powder
This is often the trickiest ingredient to measure for most mandazi makers. Too little of it and the mandazi will come out flat and dry. On the other hand, excess baking powder will make the mandazi unpalatable as it will taste bitter and have a strong, kind of pungent smell. When I say that I worked on my recipe for some time to come up with accurate ingredient measurements, it was mostly with baking powder. Thankfully, I now have a maandazi recipe to depend on. No more estimating.
Eggs
Eggs not only add essential nutrients to the mix, but they also improve the texture of mandazi by adding moisture and airiness to it thus making it fluffier and softer. For this recipe, you must use fresh eggs (not canned ones). The eggs can be straight from the fridge or at room temperature. That does not really matter.
Milk
Milk performs the same role as eggs in a maandazi recipe. Other than the nutrients it introduces, milk provides moisture to mandazi, keeping it soft and fluffy in all the right ways. The outer layer of mandazi comes out beautifully smooth and crumbly looking because of the fat in the milk. I always use whole milk for this recipe because the fat in it is what does the job. The less the amount of fat in the milk you use (e.g., 2%), the dryer your mandazi is likely to be unless you increase butter or add vegetable oil.
Butter
Besides its deliciousness and the nutrients, it adds to the dough, butter enhances the softness of mandazi, giving it a wonderful fluffy texture. Of course, butter works together with milk to give mandazi that smooth and appetizing outer look. Maandazi which is lacking in these two ingredients will be noticeably less appealing to the eye. It will have an uneven, lumpy-looking exterior that is also not uniformly browned but rather patchy. Go for unsalted butter so you can control the amount of salt in your mandazi. Make sure the butter is at room temperature at the time of use.
Sugar
Sugar is for the sweetness as maandazi is a sweet dish. You can use granulated white or brown sugar for this recipe.
Salt
Salt is important in rounding up all the flavors and making your mandazi taste great. Without salt, mandazi will taste quite flat.
Vanilla extract
This is an optional ingredient. It adds flavor and helps reduce the smell of eggs (which usually isn’t strong at all in this recipe). You will absolutely do just fine without this ingredient.
Aroma boosters
Consider adding any of the following ingredients to your maandazi recipe if you are looking to have a more popping aroma in it. Note that these are all optional ingredients and that I did not use any of them in this recipe.
Lemon zest
Lemon zest adds outstanding flavor to maandazi. Just one tablespoon is enough for this recipe if you decide to add it. Grate the zest carefully to not include the pith which can be very bitter.
Cinnamon
Ground cinnamon can add a nice aroma to mandazi just like it does to cinnamon rolls and various other wheat products. For this recipe, one teaspoon of ground cinnamon is enough. Do not overdo it because cinnamon is not the central ingredient for mandazi.
Cardamom
I love the smell of this spice. Cardamom is usually a perfect and, I would say, must-have ingredient for mahamri which uses yeast as the rising agent. However, for mandazi which uses baking powder, it is not as necessary. Should you want to add it, one teaspoon is enough for this recipe. Cardamom has a really strong smell, albeit awesome, but you don’t want to overuse it.
Steps for the best maandazi recipe (all the tips and tricks)
In this section, I explain in a little more detail the most important steps in making mandazi, without which the final product may not come out as nicely. The summarized version, plus the rest of the steps are in the recipe card below.
Dough preparation
Step 1: Make sure to level off each dry ingredient as you measure it. Do not do heaped measurements as that will lead to excesses of those ingredients. Also, I guess this goes without saying, but use the same measuring containers to measure all of your ingredients for consistency.
Step 2: Rub the butter into the flour. This step is crucial in giving mandazi that soft and fluffy texture. Failure to do this step will lead to excessively compact, somewhat dry, and chewy mandazi. If you wish to replace butter with cooking oil, you can do so. Use the same measurements as you would butter.
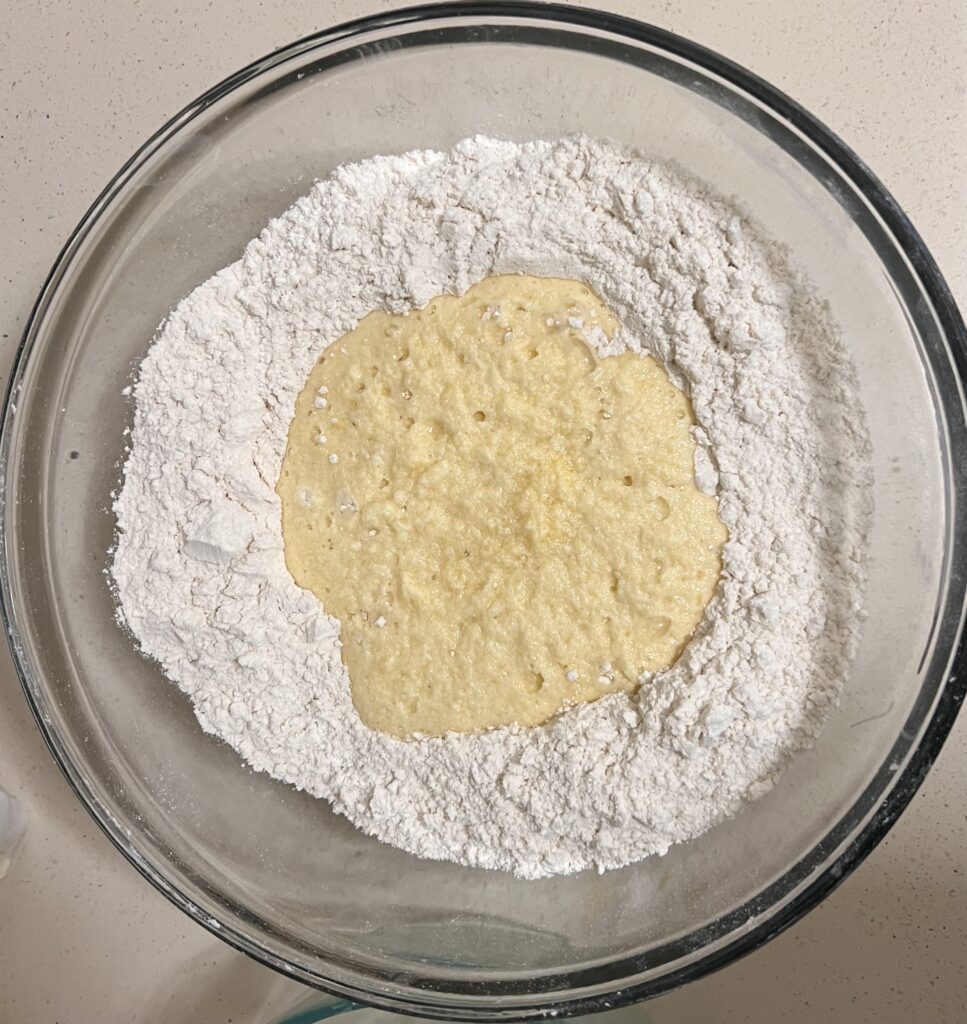
Step 3: Blend sugar with the wet ingredients on the side and add them to the dry ingredients together. Among other reasons, this will allow the sugar to dissolve before it is added to the flour, ensuring that your dough is smooth and that your mandazi has a lovely exterior. Otherwise, considering that mandazi can be fried right after kneading, sugar would not have enough time to dissolve, and you could end up with mandazi whose exterior layer is dotted indicating where the undissolved sugar was. This is especially true if you are using sugar with larger granules.
Step 4: Knead the dough until it is smooth, of uniform texture, and no longer sticky. The dough should be firm but pliable. Do not overdo the kneading. Stop right after you achieve the above-mentioned characteristics.
Step 5: Use flour minimally on the countertop before rolling out the dough. Just enough to prevent sticking. Too much flour will make the dough dusty, and that dry flour will burn in the oil, darken, and quickly make the oil dirty. The mandazi will come out with dark particles all over it and that’s not good.


Frying maandazi
Step 6: When frying maandazi, you may want to regulate your stove heat between medium and medium-high if necessary. Too hot oil will brown and even darken the mandazi too quickly before it is fully cooked inside. Should this happen, it is irreversible, and you will have to discard that mandazi. On the other hand, too low heat will lead to mandazi absorbing oil and becoming unpalatably soggy. I have found medium-high heat to work quite perfectly.
Tips on storing and preserving maandazi
I always make mandazi in large batches (and I recommend you do so too because it is just so convenient) and freeze it for long-term usage. I then make Kenyan tea in the morning and grab a few maandazi from the freezer and pap! Just like that, breakfast is ready.
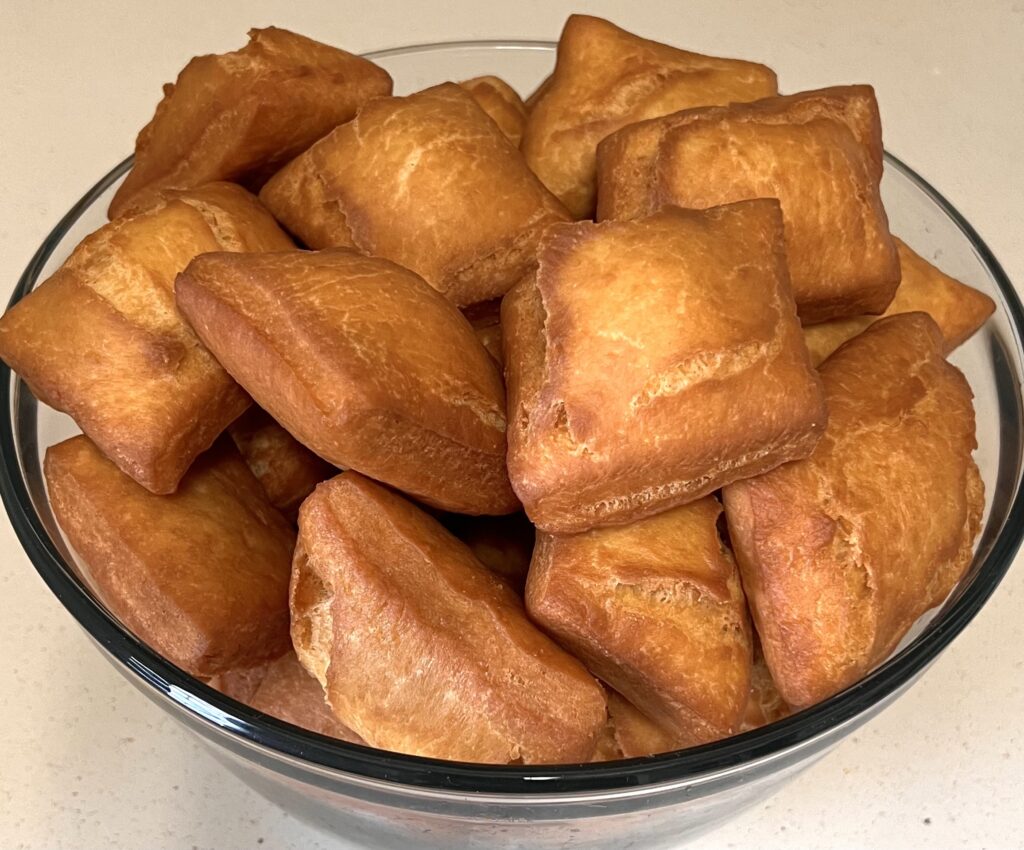
- Allow mandazi to cool down fully in an open container like a large bowl before packaging. Covering it while hot could lead to sweating and thus, sogginess.
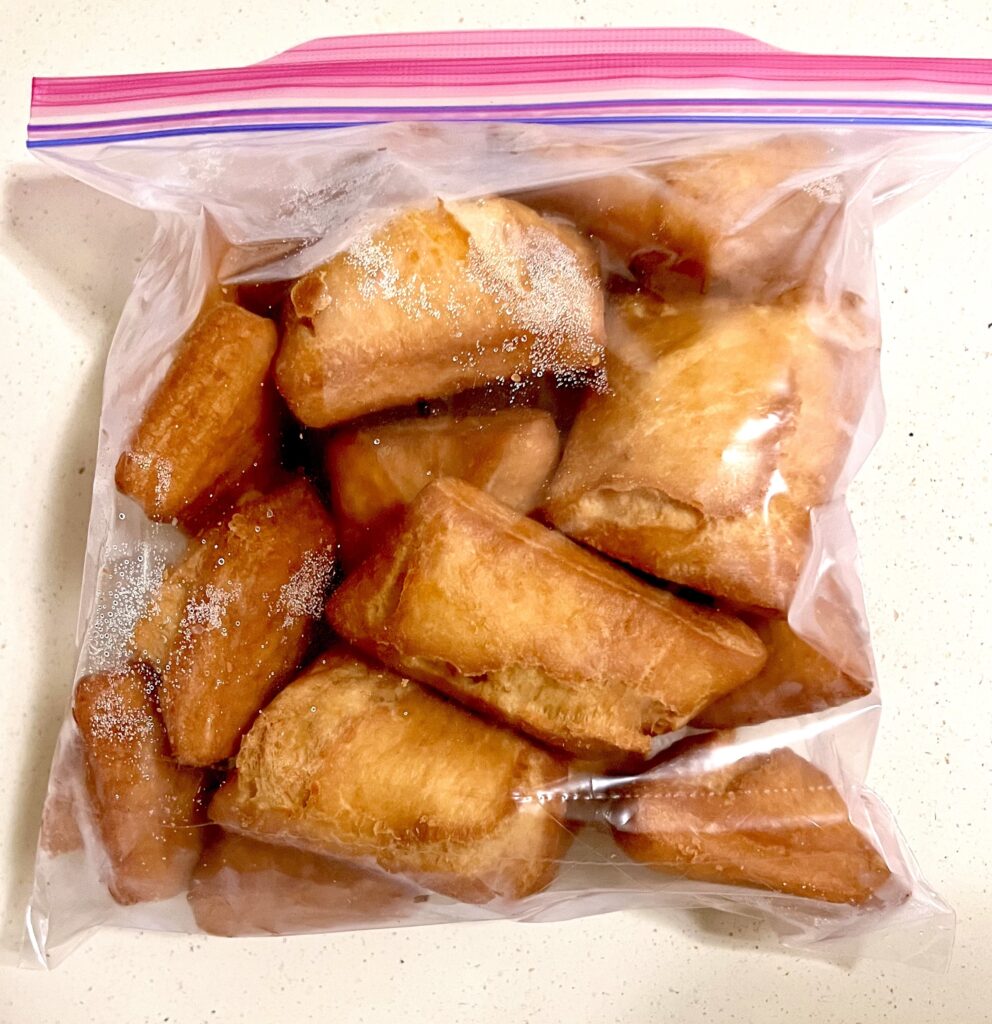
- Place cool maandazi in an airtight container for storage. I like to use gallon-size Ziplocs for this. Maandazi can dry out and become unusable if left uncovered for a long time.
- Preserve the freshness of maandazi by freezing it. Refrigerating doesn’t work as well as the texture tends to deteriorate after just three days. However, frozen mandazi tastes like new up to three months later.
More on this maandazi recipe: Tips on reheating leftover maandazi
- Maandazi is absolutely perfect for consumption at room temperature, just like doughnuts, muffins, croissants, etc. Get it out of the freezer an hour or two early and keep it in an airtight container on the countertop.
- That being said, warm mandazi beats room temperature mandazi every day of the week and twice on Sunday (I just felt the need to say that, sorry). This is especially true for this recipe which uses butter. The mandazi is softer and fluffier when warm.
- Heat up frozen or defrosted maandazi in the microwave. Do about 20 seconds at a time and turn it over. You will hardly need to go over a minute or your maandazi will dry out.
Print The Recipe
Maandazi Recipe – with Butter, Milk, Eggs, and Baking Powder
Course: BreakfastCuisine: Kenyan, East AfricanDifficulty: Moderately difficult10
servings20
minutes30
minutes50
minutesThis maandazi recipe provides you with all the guidance you need to make fluffy and tasty maandazi that you are guaranteed to love. Please adhere to the measurements given and measure quite accurately for the best results.
Ingredients
All-purpose flour – 6 cups
Baking powder – 1 ½ tbsp
Sugar – ½ cup
Eggs – 2
Milk – 2 cups
Butter (unsalted) – ½ cup (1 full stick)
Salt – ½ tsp
Vanilla extract (optional)
Directions
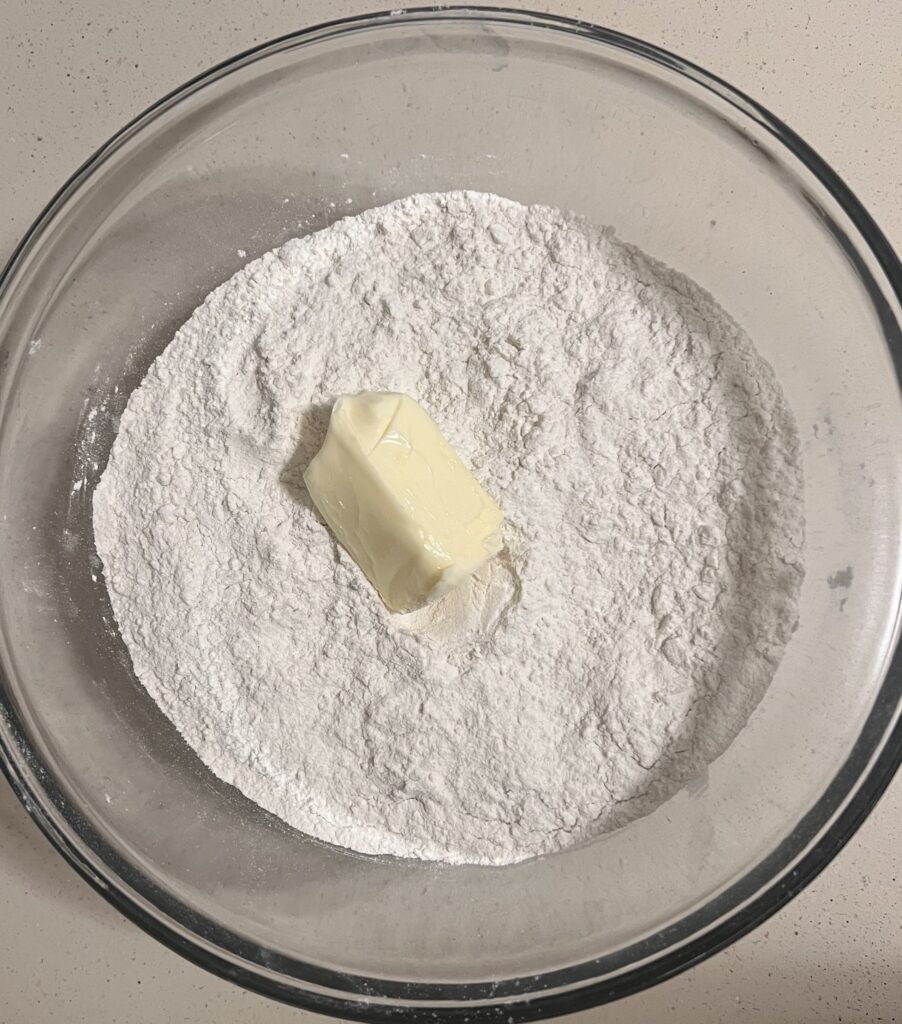
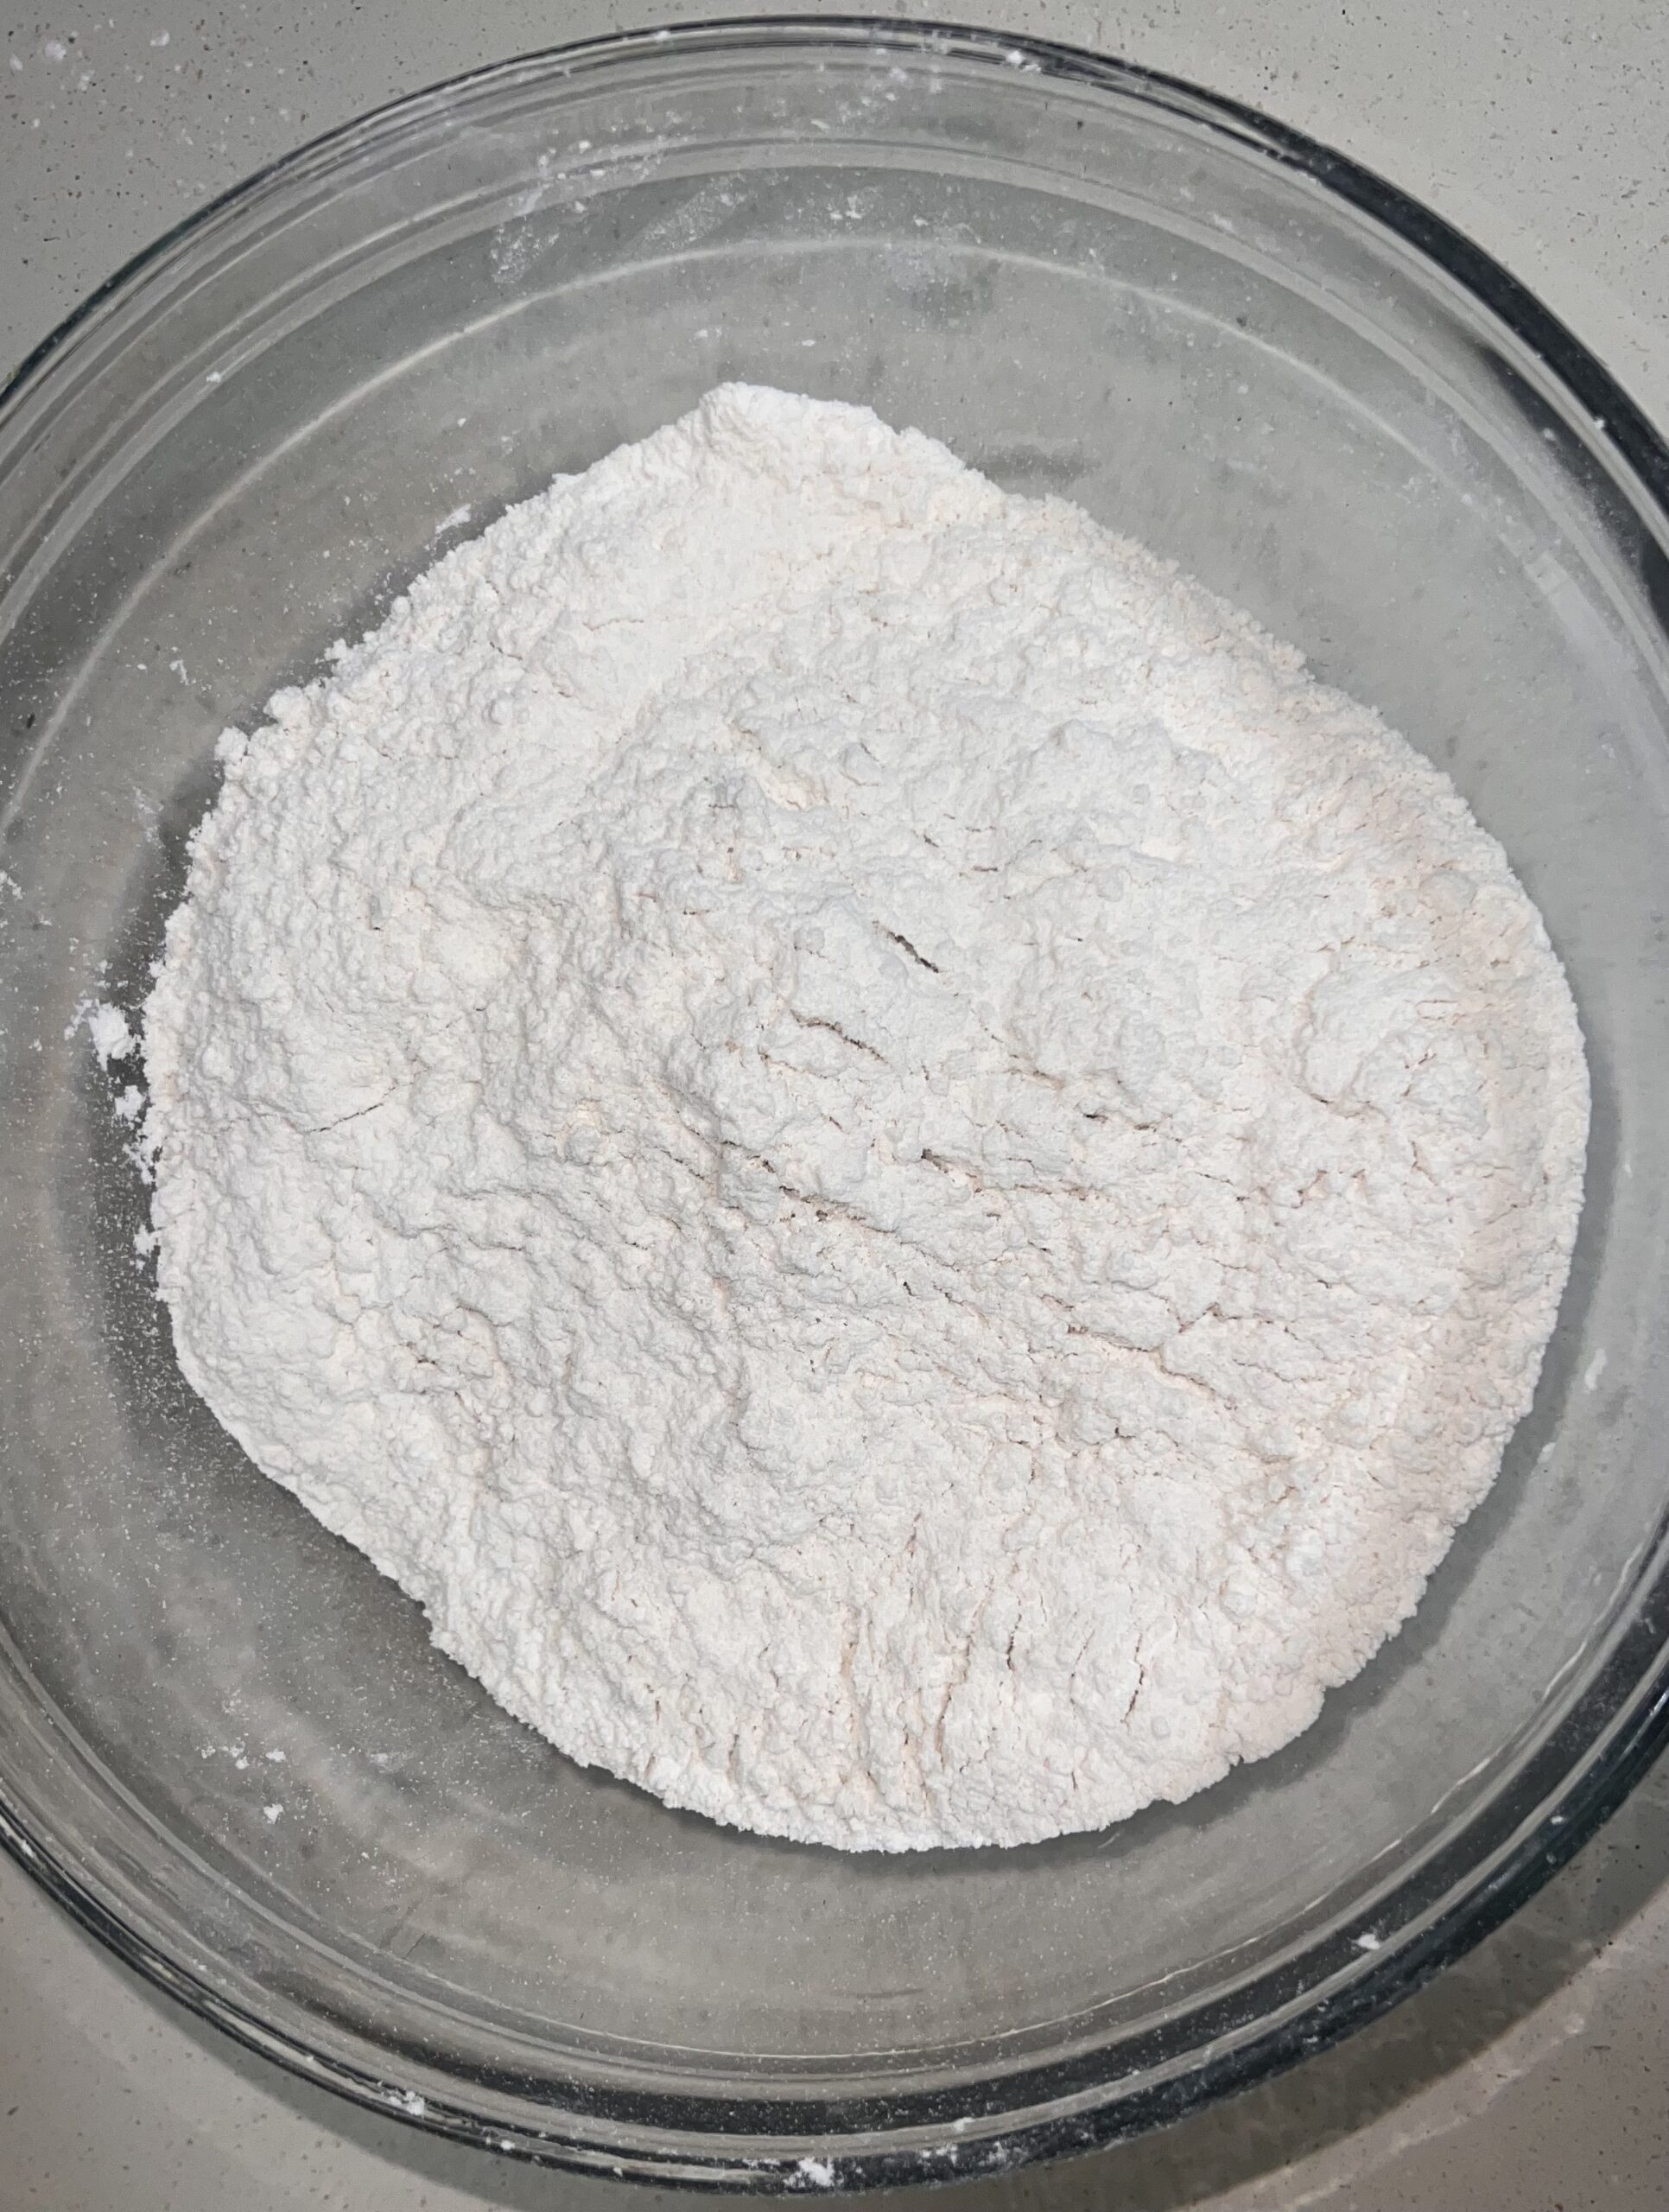
- Place flour into a large bowl. Add baking powder and salt to it and whisk gently to combine.
- Divide the stick of butter into two halves. Add one half into the flour mixture and rub it in using clean, dry hands until it is well incorporated into the flour. The flour should appear uniformly crumbly. Note: If you wish to use a mixer, I recommend you do so in the next steps but use your hands in this step.
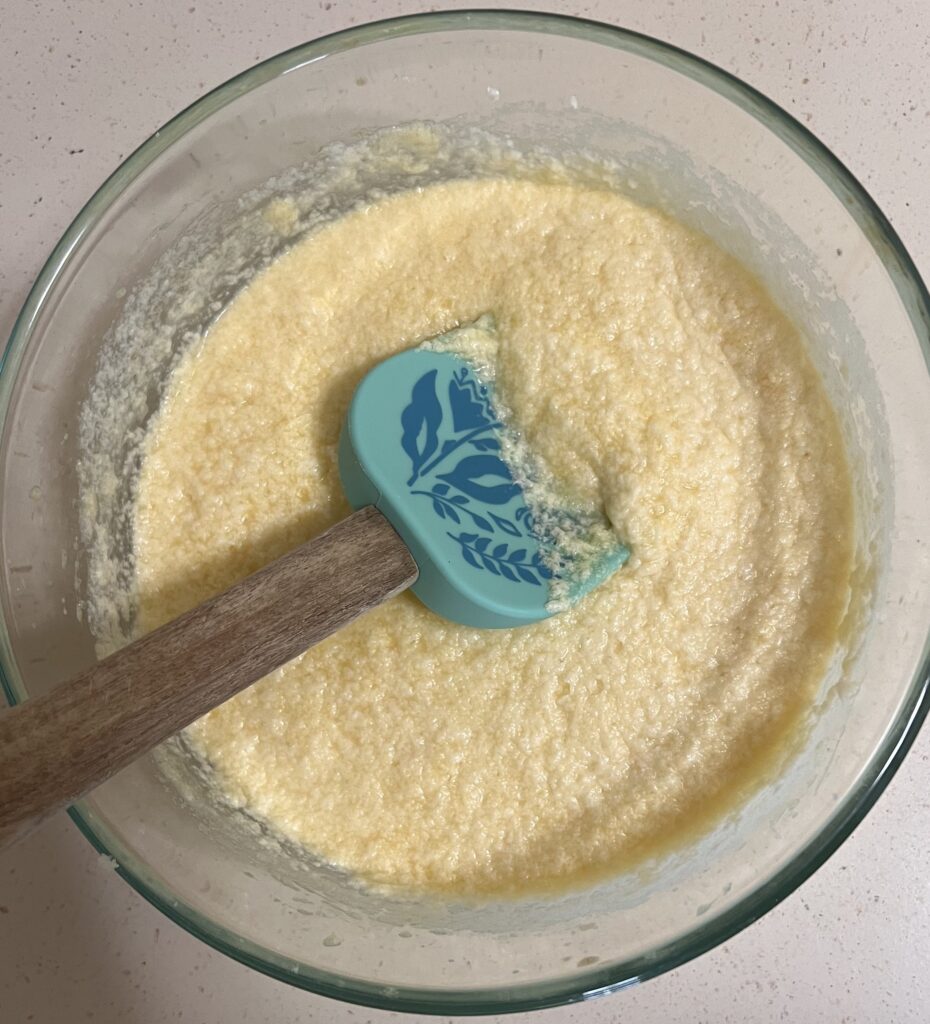
- Place the other half stick of butter in a separate, large enough bowl and add sugar to it. Use a rubber spatula to mix the ingredients until they are well combined. Do this for at least 1 ½ to 2 minutes.
- Add eggs to the sugar-butter mixture and whisk for about 30 seconds to combine.
- Add 1 cup of milk and the vanilla extract and whisk them in.
- Transfer the wet mixture to the bowl with flour and start kneading. Add the second cup of milk a little at a time and continue kneading until you achieve the right consistency. Your dough should be firm but pliable. You will most likely use up all the liquid but just in case your flour was too loose when you measured, you may be left with a little milk. If it was too packed, you may need a little more milk.
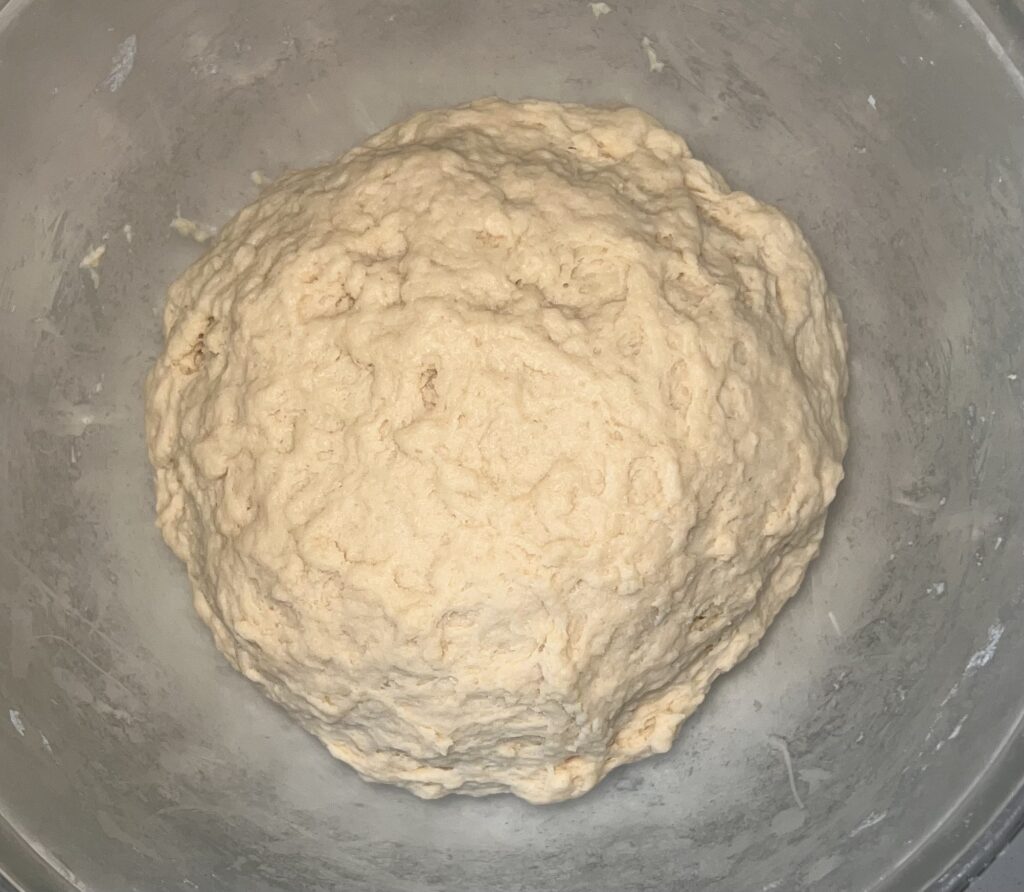
- Knead the dough until it appears smoother and is no longer sticky.
- Shape the dough into a large ball and place it in the bowl. Even though there is no harm in frying it right away, I like to cover the dough using cling wrap or a clean kitchen towel and let it relax for a few (5-10) minutes as I get other things ready (prep the countertop, get the cooking oil heating on the stove, and line the bowl in which I will place the ready maandazi).
- On a clean, wide, and dry surface, sprinkle about a teaspoon of flour. Then, gently place the whole dough onto it. Press on it with your palms to flatten a little. Flip it over to get flour on both sides. Then, roll the dough out into one huge circle with a thickness of a quarter of an inch. NOTE: Do not knead the dough anymore at this stage. It is unnecessary and could make the mandazi chewy.
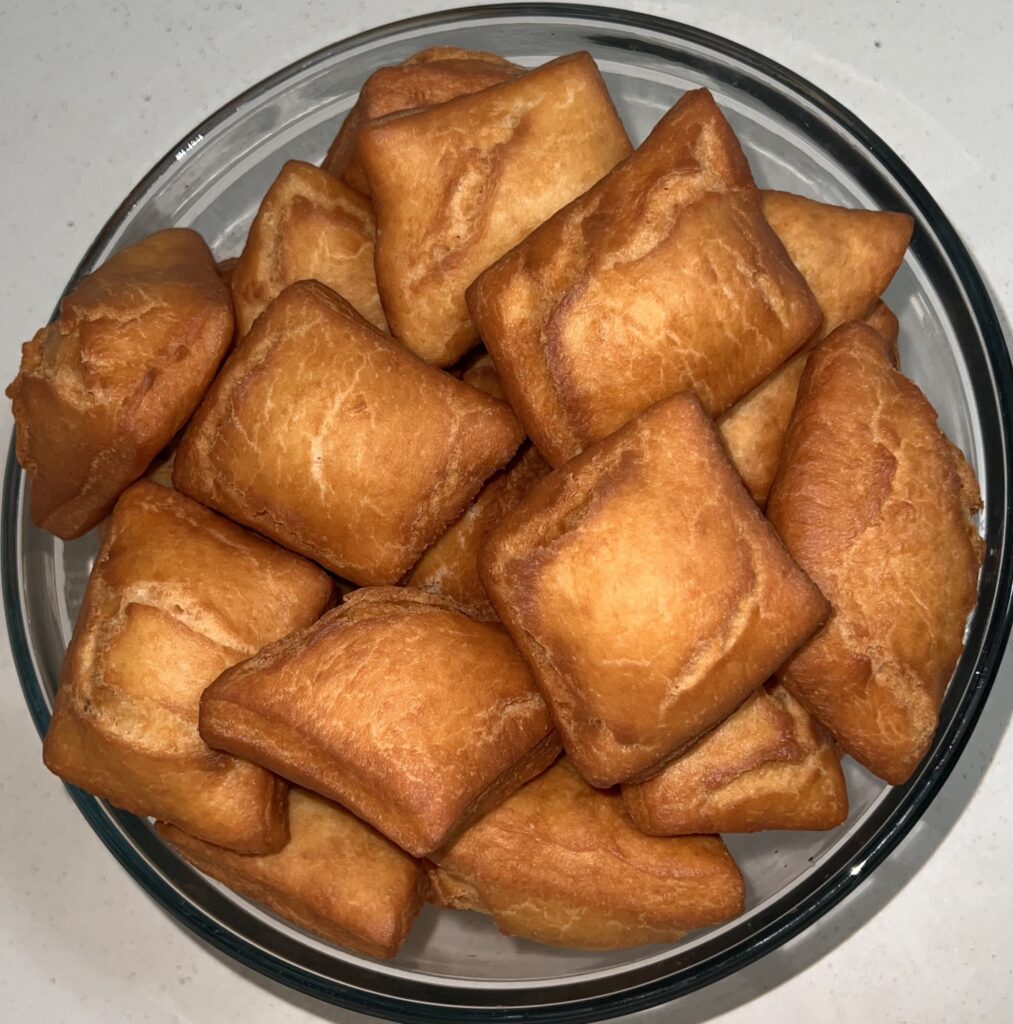
- Using a sharp knife, cut the dough into whatever shapes and sizes you would like your mandazi to be. I like to cut triangles, squares, and rectangles. If you have kids, it may be fun to create some cookie-cutter shapes of humans, animals, and so on. Note though that the shapes will not hold as well because the maandazi will puff up. But it will still be something to excite the kids.
- Heat the frying oil on medium-high. Your frying oil should be deep enough for deep frying. Also, use a wide pan so you can make several mandazi at a go. It is not a good idea to pile them up and have them overlap while frying because that will prevent proper rising and may lead to uneven cooking.
- Gently place mandazi dough in hot oil. Let it cook until the bottom browns to the desired level and the top sides crack and stretch. Flip and fry the other side. When browned enough, take off the oil using an egg slice or a metallic strainer. Place in a container lined with paper towels to absorb any excess oil.
- Enjoy your mandazi as a snack for any time of day, serve it with a beverage (tea with milk, coffee, juice, etc.) for breakfast, or dip it in a soup or stew of your choice for a more filling meal. See more serving suggestions below with links to delicious recipes. Here is the link to the recipe video on YouTube.
Recipe Video

Serving suggestions for maandazi
- Enjoy your maandazi with Kenyan tea, coffee, fruit juice, or any other beverage of your choice.
- Serve maandazi with this delicious lentil stew for a healthy and filling vegetarian breakfast or lunch.
- Have it with this green grams stew for another healthy and filling vegetarian breakfast or lunch.
- Maandazi with this crispy baked bacon and/or moist scrambled eggs.


This looks great.
What is the size of your measuring cup?
I have seen some for 125g and 250g for dry ingredients.
Hello Lizzie, thank you! The cup I use is equivalent to 125g. Please let me know if you have any other questions, I will be happy to answer them! 🙂